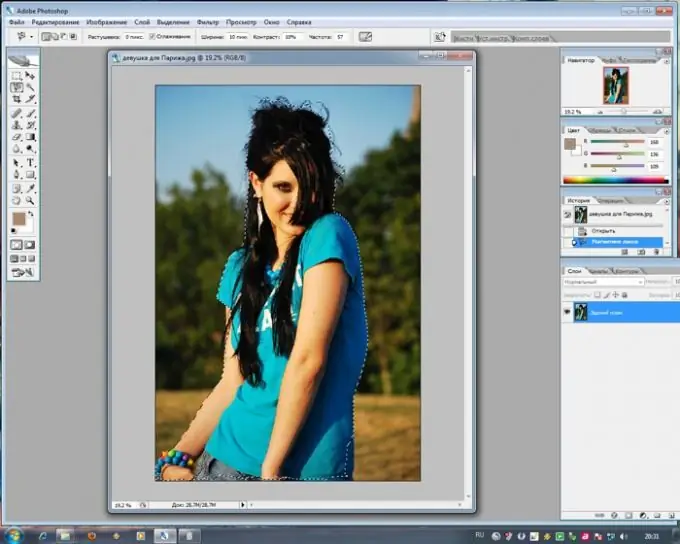
Surely you not only on the Internet, but also in fashionable glossy magazines have seen such photographs where an object or person is depicted against the background of a skyscraper, a desert or completely newfangled computer graphics. In fact, this is not difficult if you know how to correctly handle the program Photoshop. Let's take a step-by-step look at what you need to do to change the background of any photo.

Necessary
Adobe photoshop
Instructions
Step 1
Open the photo in which you want to change the background, and then open another photo that you want to make the new background.
Step 2
Start cropping out the person or object of interest in the first photo. The Lasso Tool will help you with this, with which the contours of a person's silhouette are neatly outlined. For more precision selection along the contour, you can use the Magnetic Lasso Tool. When you are finished selecting the drawing, close the path and get a finished selection. Right click on it and select Layer via Copy. This command will copy the selected silhouette to a new layer, after which you can work with the image separately from the background.
Step 3
Open the drawing with a new background and drag the silhouette onto it from a separate layer with the Move Tool.
The photo may not be sized to match the proportions and dimensions of the objects in the background. Here you will be helped by the tool Edit> Free Transform, which allows you to freely edit the size of any picture and its shape. Hold down the Shift key while resizing - this will reduce or enlarge the photo, flip it or rotate it without breaking the correct proportions.
Step 4
Select the section "Blur" (Blur Tool) on the toolbar and with a thin soft brush stroke the resulting silhouette on the new background to smooth out the unevenness and rough selection elements.
Step 5
During the editing process, you may have difficulty with too much difference in brightness and color range between the background and the original photo. In this case, select the layer with the cut out silhouette from the photo and start adjusting it to the color scheme of the background image using the Levels, Color Balance and Brightness / Contrast sections. Also, the finished photo can become even more beautiful if you try to use different blending modes of layers with the photo and the background - for example, Overlay or Soft Light.


