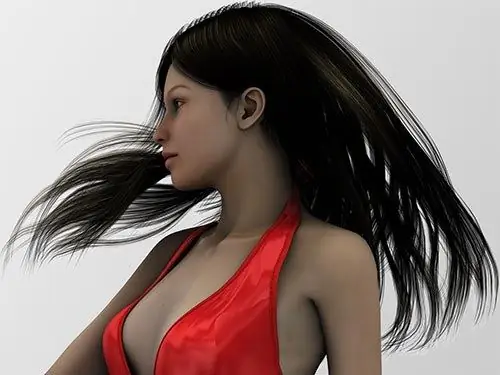
Digital image processing tools allow you to literally transform any photographs, changing them beyond recognition. So, the person in the photo can be made bald by removing his hair. The right tool for this is the Adobe Photoshop editor.

Necessary
Adobe Photoshop
Instructions
Step 1
Load the original image into Adobe Photoshop. Select File and Open… from the menu. You can also press Ctrl + O. Specify the file in the dialog that appears. Click the "Open" button.
Step 2
Select areas of images to work with. Determine the most effective retouching method. So, light short and not very densely growing hair, located on even skin (for example, on the hands), can be removed, simply by slightly blurring or smearing them. Separate clear hair (for example, unsuccessfully falling on the forehead) is perfectly removed with "healing" tools. You can remove the thick hair only by reproducing the image of the skin (or other background that it covers) in its place.
Step 3
When removing light hair from arms or legs, first create a selection around the area to be treated. This is in order not to accidentally spoil other fragments. Use the Pen Tool or the Polygonal Lasso Tool in combination with a quick mask. If the skin in the image being corrected is fairly smooth, and the hair is light and thin enough, try blurring it with the Gaussian Blur filter or the Blur tool. If there are sufficiently clean skin fragments in the selection area, “smear” them in the direction of the hair zones. Use the Smudge Tool.
Step 4
If there are large areas occupied by quite often growing and clearly visible hair (very short, "machine-like" haircut on the head), select them and copy them to a new layer. Apply a High Pass filter to the layer with a Radius value so that the hair is clearly visible in the preview mode. Invert the colors by pressing Ctrl + I. Change the blending mode of the layer to Overlay. If necessary, remove unnecessary fragments with the Eraser tool. Merge the layers by pressing Ctrl + E.
Step 5
If you need to remove the lush hairstyle, consider creating a collage, i.e. transferring a large section of the head without hair from another photo. If there is a suitable source, download it in Adobe Photoshop. Select and copy the desired fragment (for example, the entire upper part of the head to the forehead). Paste it into the target document and resize it in free transform mode (activated by pressing Ctrl + T). If necessary, adjust the colors using the commands in the Adjustments section of the Image menu. Use a high opacity Eraser tool to paint over the edges to blend harmoniously with the bottom layer. Press Ctrl + E.
Step 6
Dense curls or hairstyle elements that are on the background of the face, eyebrows, clothes, as well as protruding beyond the silhouette, remove with the Clone Stamp tool, specifying a suitable background as the source. You can try to remove individual strands using the Patch Tool, choosing a fragment similar in texture and texture as a "patch".
Step 7
Refine the image with the Healing Brush and Spot Healing Brush, adjusting some small details. Using the Burn Tool and Dodge Tool, darken and brighten the image where necessary.
Step 8
Save the result to a file. To do this, select Save As … from the File menu or press Ctrl + Shift + S.


