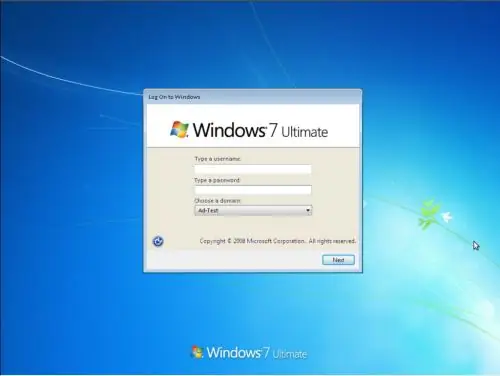
As with any operating system, you can set an administrator password on Windows 7. But at the same time, rarely does anyone leave a reminder. It seems to everyone that the password is simple and will hardly be forgotten. But sometimes it happens. Or, when installing it, you may not notice the keyboard layouts or not see if the Caps Lock key is on. In this case, you will not be able to enter the system. In general, there can be quite a few situations when you need to remove the administrator password.

It is necessary
- - A computer;
- - boot disk with Windows 7 OS.
Instructions
Step 1
To work, you must have a bootable disk with the operating system Windows 7. Before starting the operation, this disk must be in the drive of your computer. Turn on your PC and bring up the Boot Menu. Start booting the computer from the operating system disk.
Step 2
Wait for the window with the choice of language parameters to appear. Proceed further. In the next window below there will be an option "System Restore". Select this option. Next, a list of options for system recovery will appear, in which select "Command Prompt". Next in the command line, type regedit and press Enter.
Step 3
In a second, the registry editing window will open. Find HKEY_LOCAL_MACHINE among the main registry keys. Select it with the left mouse button. After that, from the top in the program window, select "File", then in the additional menu - "Load bush".
Step 4
Next, using the browse, select the system drive on which the operating system is installed (by default, drive C). Then go to Windows / System32 / config / and open the file System. The Load Registry Hive window appears. In the line "Section name" in this window, you need to enter any three numbers, for example 541. A new section 541 will appear in the registry.
Step 5
Next, go to the registry key HKEY_LOCAL_MACHINE / 888 / Setup. Double-click the left mouse button on the CmdLine parameter, then enter Cmd.exe and OK. Then click on the SetupType parameter. Set the value to “2” instead of the last “0”. Then click OK.
Step 6
Open the HKEY_LOCAL_MACHINE section. Highlight the section you created from the numbers there. In our case it is 541. Then click "File" and select "Unload Hive". Close all windows. Remove the disc from the drive. Reboot your computer.
Step 7
After restarting your PC, wait for the command line to appear. In it, enter your username, then - a new password. The next window is the standard login window. Just enter your account name and password.


