Shortcuts, referred to as "icons" by many PC users, work like a link. They themselves do not represent any program file, but as a link they lead to it. It is very easy to create a shortcut or icon.

Instructions
Step 1
Go to the folder in which you want to create an icon of a particular program or file in order to launch it from the location of your choice. In this case, we need a shortcut right on the desktop, you can create it here too.
Step 2
Right-click on any empty spot on the desktop. In the context menu that appears, hover over the "Create" item. When you hover the mouse cursor over this item, several sub-items will appear. Left-click on the "Shortcut" sub-item.
Step 3
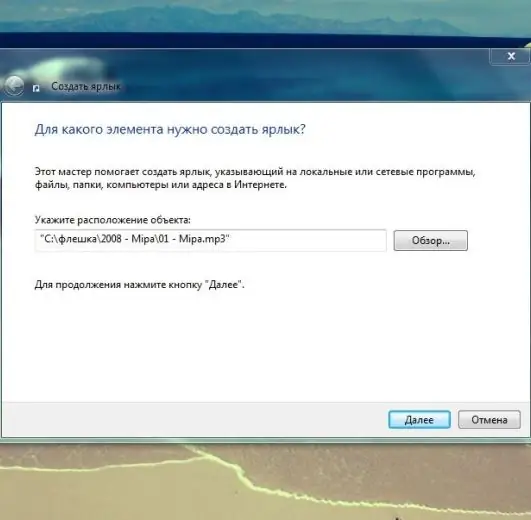
The wizard for creating a shortcut will open in front of you. In the first window, select the path where the document or program is located, for which you want to create a quick launch icon. Click the "Browse …" button and use a standard explorer to specify the path to the file. If it is a program or game, then most likely it is located in the “Program Files” folder or the folder with the name of the developer on your hard drive C: /. The executable program file is in the “.exe” format, so this is the file you need to look for. Usually it has an image in the form of the logo of the game or program.
Step 4
After the file you need is found, click “OK” in the explorer window. You will see the address of the file in the operating system. It will look like this: “Hard disk name: FolderFile.extension”. An example would be the address: “C: Program FilesGameworldRunDragon.exe”. After adding the file to run, click Next at the bottom of the shortcut wizard.
Step 5
The wizard will ask you to name the shortcut. By default, the icon will be named the same as the selected file, but without a period and extension. You can enter any valid name and then click "Finish". Congratulations! The icon appeared on the desktop.


