Increasingly, modern computers lack a CD-ROM drive. In order to install an operating system on such a personal computer, it is necessary to make an installation flash drive with an image of the Windows operating system.
Necessary
- Free 4 GB USB flash drive.
- Windows 7 or Windows 8 installation CD image in iso format.
- A computer running Windows 7 or Windows 8 to create a USB flash drive.
Instructions
Step 1
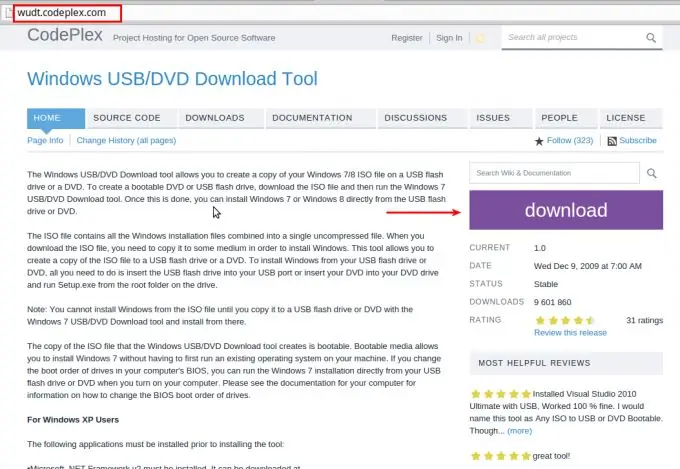
First you need to install the Windows USB / DVD Download Tool. To do this, download it from the site https://wudt.codeplex.com/, then run the downloaded file and install the program in a regular way.
Step 2
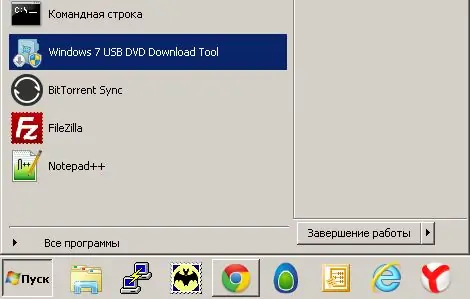
Run the program from the Start menu.
Step 3
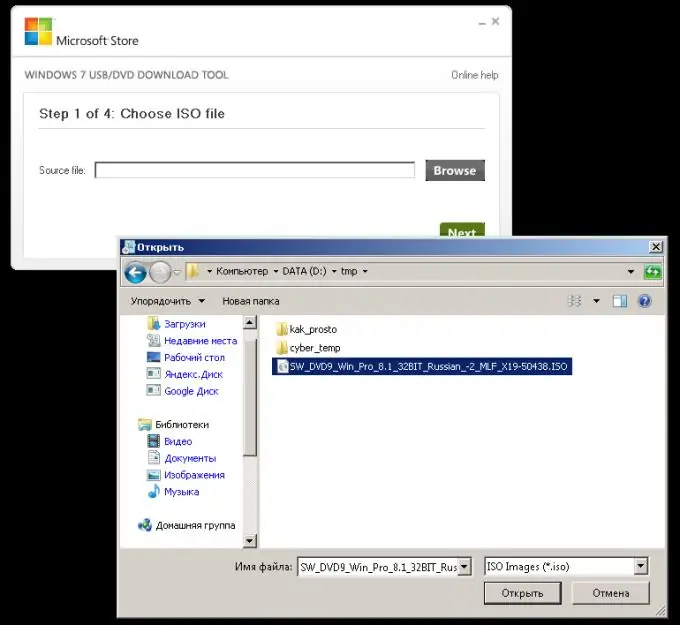
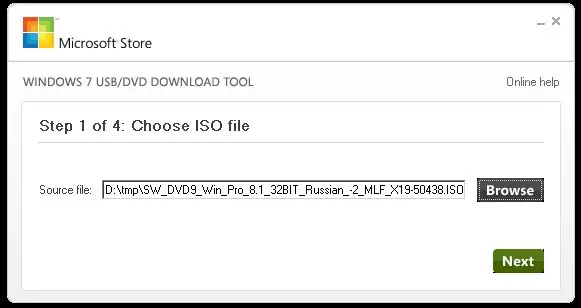
The program is a step-by-step wizard for burning an iso image to a USB flash drive or DVD. In the first step, we need to select the iso image file to burn. Click the Browse button, locate the downloaded Windows 7 or Windows 8 installation disk image. Click the Open button.
Step 4
After the file is selected, make sure its name is specified in the box and click Next.
Step 5
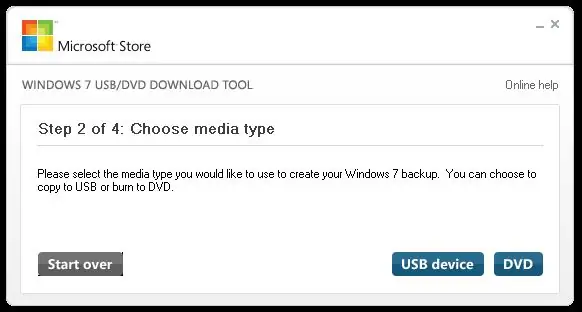
In the second step of the recording wizard, you must select USB for recording the installation USB flash drive.
Step 6
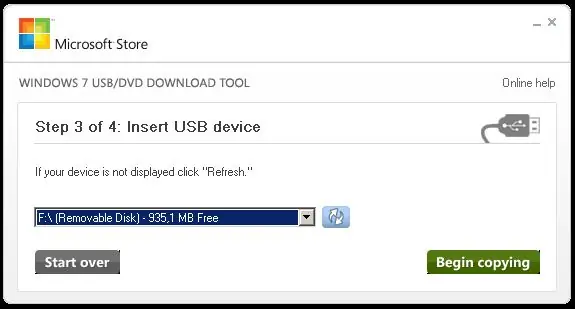
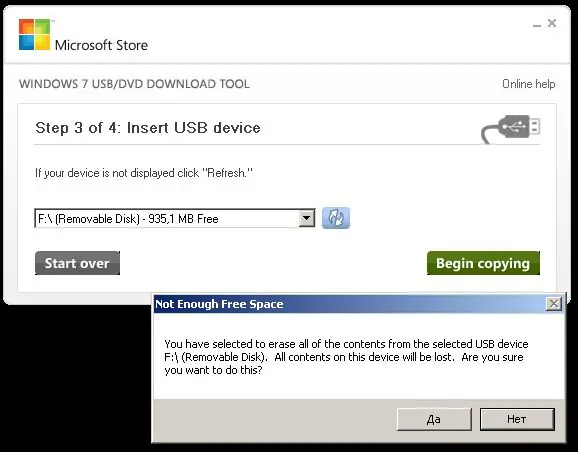
You are at the 3rd step of the Windows Installer Image Capture Wizard. Insert the USB stick into a USB port on your computer. Click the refresh button (blue button with two white arrows). After that, select the USB flash drive from the list to which you want to write the installation image. Then click the Begin copying button.
Step 7
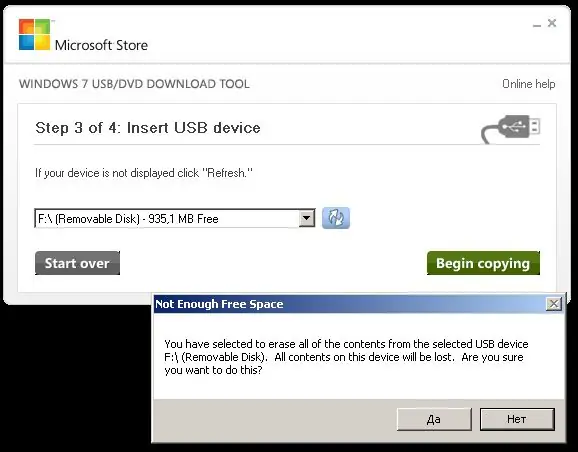
If there is not enough free space on the flash drive, you will see a corresponding request to delete all data from the flash drive. Make sure there is no data you need on the flash drive and click Earse USB Device.
Step 8
The program will ask you again to confirm your decision to delete all data from the flash drive. Click Yes if you are sure that the flash drive does not contain the data you need.
Step 9
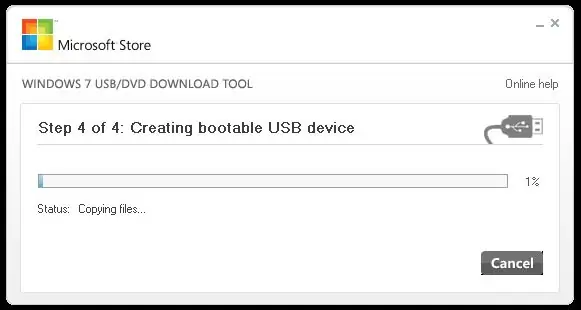
The process of writing the installation image to a USB flash drive has begun. Wait for the process to complete.
Step 10
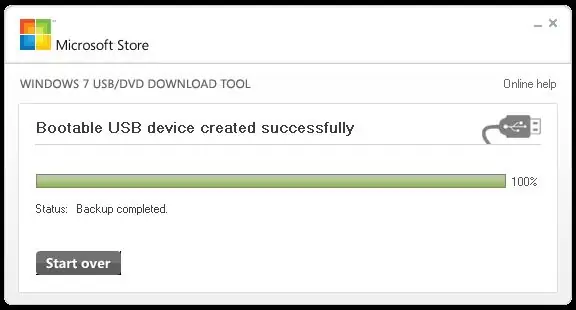
When the progress bar reaches 100%, and the message Bootable USB device created successfully appears in the top line, the process has been successfully completed. Remove the flash drive in a regular way. Now you can insert the created flash drive into the computer on which you need to install Windows, restart it, selecting the inserted USB flash drive as the boot device, and install.


