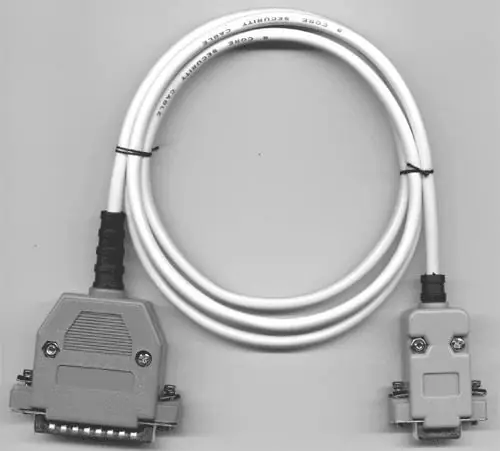
The COM port is a rather outdated form of connecting additional devices to a computer. Some programs may require this connection on your computer to perform certain functions. In these cases, virtual COM ports are created.

Necessary
computer
Instructions
Step 1
When connecting a printer using a COM port, open the "Printers and Faxes" item in the computer control panel and check. Whether the device is displayed on the system. If not, be sure to check its connection to the computer. Pay attention to whether the printer plugs are attached to the tanks.
Step 2
Select the hardware installation menu in the control panel and specify the installation of the device connected via the COM port. Select an Internet connection to download the driver automatically, or install it manually using the special disk included in the kit.
Step 3
Check the Printers and Faxes menus for a new piece of equipment. In the future, when setting up, printing, or in other cases when you need a printer and there is a problem with the connection port, open the device connection parameters and specify the correct connection option, and then wait for the equipment to be detected in the system. This usually applies to older printers, since the COM port is a rather outdated interface. The same applies to other equipment, such as early phones, cameras, scanners, and so on.
Step 4
In cases where too many COM ports are displayed in your system and it can be quite difficult to immediately navigate which one to specify when connecting, delete unnecessary options in the device manager. It opens from the Hardware tab in the properties of the My Computer menu. This is especially true when multiple virtual connection ports are being created. Just select unnecessary items among them and press the Delete button. If you periodically have problems with ports, reinstall the motherboard driver by downloading it from the developer's website.


