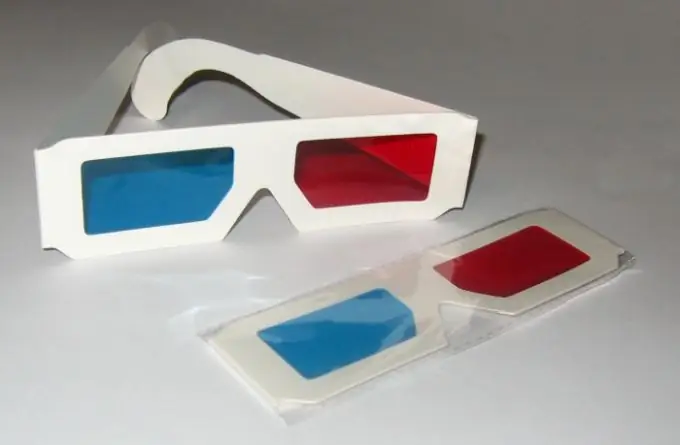
On the Internet, on many resources with various kinds of pictures and photographs, you can see strange, as it were, blurry images. These are 3D pictures. They can be viewed with special glasses, the lenses of which are painted in different colors - for example, one in red and the other in blue. You can create such an image yourself - now there are many programs on the Internet that allow you to do this.

Instructions
Step 1
Most programs for creating 3D images are free, but they have rather poor functionality. You can also use Photoshop, but you need to have experience with it. We will consider the process of creating stereo images using the example of the free Stereo Photo Maker program. By the way, it has a fairly rich set of functions.
Step 2
Download the program. Unpack the archive into a separate folder.
Step 3
Prepare two images. And for this you need to pick up a fixed subject for photographing. Take two pictures of this object, slightly moving the camera horizontally after the first one. Remember which picture is right and which is left.
Step 4
Transfer both photos to your computer's hard drive in any way you know (USB connection, flash card, and so on).
Step 5
Launch Stereo Photo Maker. Load the photos as follows: go to File -> Open left / Right Images.
Step 6
Now prepare yourself for stereo imaging. To do this, you can use stereo glasses. Or you can turn on stereo mode in the driver settings of your video card.
Step 7
Click on the Alignment Mode button, then point with the mouse to two equally spaced points on the right and left images (one pair of points will be enough).
Step 8
Click on the button corresponding to the previously selected way of viewing the 3D image:
- if your monitor has a sampling frequency of more than 120 Hz and you have 3D Vision glasses, as well as a video card from Nvidia, click on the Page-flip for 3D Shutter Glasses button;
- in the case of a 3D TV, go to the menu by Stereo -> Interlaced -> 3D DLP TV;
- if you have a Sharp 3D monitor, press the Sharp 3D LCD button;
- in the case of colored anaglyph glasses, click on the Color Anaglyph button, select Half Color and two colors corresponding to the lens colors of your 3D glasses.
Step 9
If the images in the images are skewed, click on the Easy Adjustment button to correct the angle between the images.
Step 10
Save the picture: File -> Save stereo Image.


