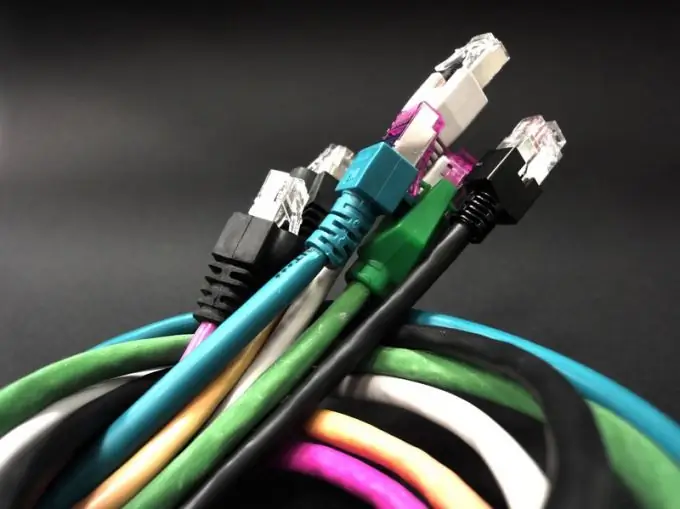
Sometimes, in order to organize a network or connect to existing channels, it is necessary to change the network parameters and settings. The use of a standardized approach in this matter allows you to do it efficiently and quickly, even with minimal knowledge of the structure of computer networks.

Necessary
basic knowledge about the structure of a computer network
Instructions
Step 1
Decide on the name of the network in which you need to make changes. To see the entire list of available network connections, go to the Windows Control Panel in the "Network Connections" section.
In the version of Windows 7, in the control panel, select the "Network and Internet" section, then the "View network status and tasks" item. Go to the "Network and Sharing Center". To configure the selected network connection, double-click the left mouse button on its icon. A status window opens for this connection.
Step 2
The set of parameters for configuring the network is determined by the components that were involved for it. As a rule, these are:
- Client for Microsoft networks, - Service of access to files and printers of Microsoft networks, - QoS Packet Scheduler, - Internet Protocol (TCP / IP). The last component is of the greatest interest, since it is in it that the unique IP address of the computer and the necessary gateways are written.
Step 3
Be careful. In the Windows 7 operating system, in addition to the usual Internet protocol TCP / IP (IPv4), the IPv6 protocol has been added, which expands the range of used IP addresses. Its appearance is due to the further development of Internet communication, but so far it remains little in demand.
Step 4
It is the Internet Protocol (TCP / IP) that is responsible for most of the work of a custom connection. Therefore, accurately enter the information provided to you from the provider for setting up the network. These typically include the IP address of your computer, the subnet mask, the IP address of the gateway (the intermediary computer responsible for routing and accessing remote resources), and the DNS server.
Step 5
Quick access to network settings is possible through the corresponding icon in the system tray (lower right corner of the Windows desktop). To do this, just double-click the icon with the left mouse button. The settings window will open.
Step 6
Windows 7 uses presets for networks to quickly set the options you want. Thus, the "Public network" type has the highest level of computer protection. If you are connected to the Internet from your home computer, this is the best option. If you intend to set up a local network, you should select the "Home network" option. This will provide access and exchange of data between computers on your home network.


