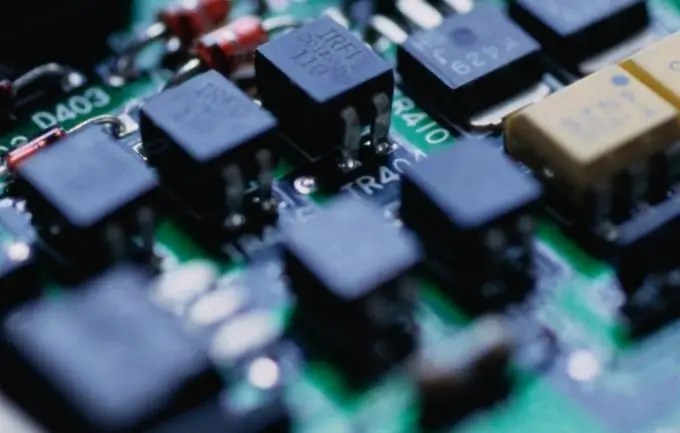
The motherboard is one of the most important parts of a computer. It has to be replaced periodically during the upgrade or repair process.

Necessary
Phillips screwdriver, computer screws
Instructions
Step 1
Turn off the power supplied to the computer system unit. Turn the power switch on the back of the unit to the off position. Unplug the power cord from the outlet.
Step 2
Open the system unit by removing both side walls after unscrewing the screws on them. If you have a vertical case of the system unit, then it will be convenient to neatly put it on its side on the table so that you have access to all internal devices.
Step 3
Remove all data cables from hard drives, disk drives (cdiroms), and other devices. Remove the wires from the motherboard that supply it with power from the power supply.
Step 4
For each memory strip, do not forget to spread apart the side keys that close the strips in the connectors, then remove the memory strips, trying to pull them out evenly, holding the edges with both hands.
Step 5
Touch the metal end of a screwdriver to the outer metal case of the system unit to discharge any static electricity that may have accumulated. Unscrew the screws that secure the video card to the back of the system unit, open the keys holding the video card, and pull it out of the connector on the motherboard.
Step 6
Pull out the small wires that supply power from the motherboard to the lights on the front panel of the system unit.
Step 7
The motherboard is secured to the case with a dozen screws, find all of them and remove them before removing the board from the computer. Then pull out the motherboard. If necessary, remove the processor cooler and heatsink from it, and then pull the processor itself out of the socket.
Step 8
Insert the processor into another motherboard in advance, then apply thermal paste on it in an even layer, install the radiator battery and cooler on top. This process is quite laborious, so it is more convenient to carry out it outside the computer case.
Step 9
Place the replacement motherboard in the case on its side. Connectors for additional devices should be at the bottom of the case, the processor with a cooler should be closer to the power supply.
Step 10
Screw in all the screws securing the board to the case wall. If not all the holes in the case and the board converge, it's okay, use those that match.
Step 11
Insert the ramps, make sure that no dust or foreign objects get into the connectors. When inserting memory, start from the very first connector, they are marked on the board itself with numbers or see the diagram in the user manual. Usually the first connector is the rightmost one.
Step 12
Insert the power cord (s) from the power supply into the appropriate connectors. Insert the device cables. If there are more connectors than devices to connect, again start with the connectors marked first.
Step 13
Insert the video card into the corresponding slot, screw its back panel with connectors for external devices to the case wall. Connect the audio wire and the power wire for the graphics card cooling system.
Step 14
Connect the thin wires from the bulbs of the system unit. It is not always possible to guess the correct polarity for supplying power to these bulbs the first time.
Step 15
Having securely screwed on all internal devices, lift the system unit to a vertical position, put the side panels in place and connect the power supply.


