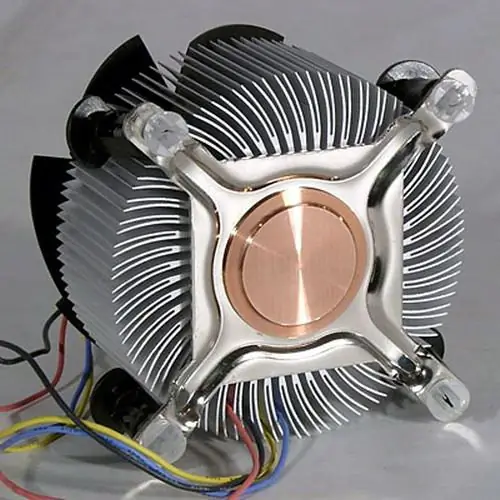
Many modern motherboards use additional coolers as additional cooling for chipsets. But over time, dust can collect on them and they begin to create a high level of noise. To restore normal operation of the cooler, you need to remove it from the motherboard and clean it. It can also happen that the cooler can completely fail. Then it will need to be replaced with a new one.

Necessary
Computer, cooler, screwdriver
Instructions
Step 1
Unplug your computer from the electrical outlet. Disconnect all devices connected to the system unit. Remove the cover of the system unit. It is secured with screws. Unscrew them. Some cases may also have latches. Now pay attention to exactly how the cooler is attached to the motherboard. There can be two options. In the first version, it can be screwed on the front of the motherboard with screws. In this case, in order to remove the cooler, you just need to unscrew four screws. Find a suitable screwdriver and remove these screws. After that, simply disconnect the cooler from the motherboard and remove it from the system unit.
Step 2
In the second version, the cooler can be attached to the motherboard from the back. To unscrew the fasteners, you will first have to remove the motherboard from the system unit. Disconnect all power supply wires from the motherboard, including the power on and restart wire. Remove the four screws around the edges of the motherboard. Next, see if there are any more fastening screws on it. If you find them, unscrew them as well.
Step 3
After removing all the screws, carefully slide the system board out of the computer case. From the back of the motherboard, remove all screws that secure the cooler to it and detach it.
Step 4
Carry out all the necessary operations with the cooler (cleaning, lubrication) and screw it back. After the cooler is connected, install the motherboard into the computer. Screw it to the wall of the computer case, and then connect the power wires, as well as the wires coming from the power supply. Do not rush to close the lid of the system unit. Plug in your computer and turn it on. Check the cooler operation. If everything works fine, shut down the computer and secure the system cover. Reconnect all previously disconnected devices.


