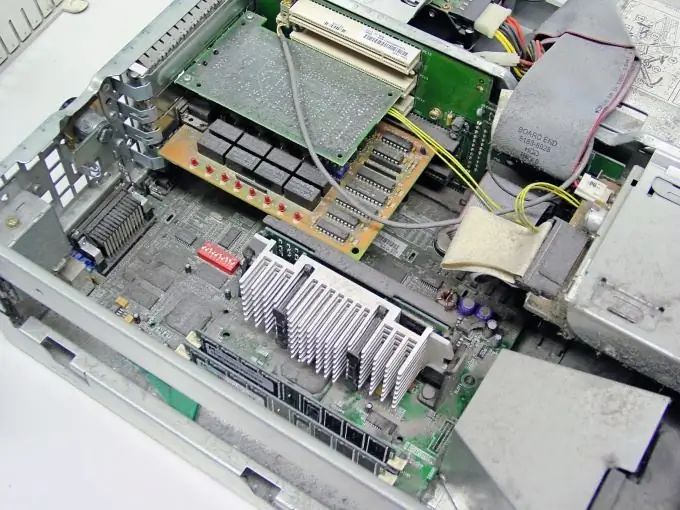
Self-assembly of a computer allows you to get the equipment of exactly the configuration that you need, and gives you the opportunity to save money without purchasing a ready-made machine. To assemble a computer yourself, you must decide on the purpose of the future computer and, based on this, choose and buy components for it. And you can see examples of computer configurations (gaming, office, etc.) on the websites of online stores. The actual assembly of the computer, which means, first of all, the assembly of the system unit, involves several stages.

Necessary
Phillips screwdriver, accessories for the system unit
Instructions
Step 1
Check your motherboard manual. Depending on the manufacturer and brand of the motherboard, they have their own design features that must be taken into account. Start assembly from the motherboard.
Step 2
Install the processor into the socket. It should be effortless. It is important to correctly orient the processor relative to the socket. Snap the processor retention mechanism into place. Apply a thin layer of thermal paste to the surface of the processor.
Step 3
Mount the cooler (cooler - heatsink with a fan for cooling the processor) to the processor. Connect the cooler power cable to the corresponding connector on the motherboard.
Step 4
Install RAM in the slots. Hold the RAM bar by the edges, avoid touching the contacts. When installing, make sure that the grooves of the strap and the slots are aligned and press on the edges of the strap. Snap the fastening mechanisms into place.
Step 5
Remove the side panels from the computer case and lay it on its side. Install the slot plate for the motherboard ports into the chassis, taking into account the location of the ports on the motherboard. Place the motherboard on the bracket on the legs, tighten the mounting bolts.
Step 6
Place the hard drive in the basket, fix it with screws if there are no latches in the basket.
Step 7
Install the optical disc drive. First, you need to remove the front panel from the case and break off the metal plug in the place of installation. Fasten the drive with screws on both sides.
Step 8
If you have expansion cards: sound card, video card or others, install them in their corresponding slots.
Step 9
Connect the buttons and speaker wires on the front panel. Find the wires labeled: h.d.d led, power sw, reset sw, power led, speaker and connect them to the required connectors on the motherboard.
Step 10
Connect the front USB outputs with the wires labeled USB. Connect the front headphone and microphone jacks with the wire labeled audio.
Step 11
Connect the cable from the power supply to the hard drive and the SATA cable for data (one end to the sata1 connector on the system board, the other to the hard drive slot).
Step 12
Connect the optical disc drive and floppy drive in the same way.
Step 13
Connect the cables from the power supply to the motherboard.


