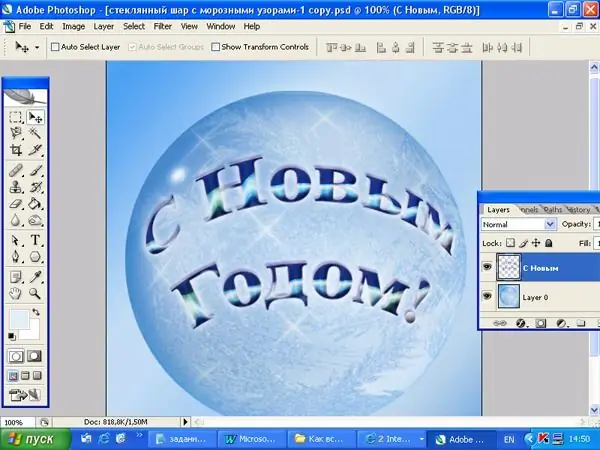
The graphic editor Adobe Photoshop provides rich creative opportunities for absolutely everyone: those who can draw with a pencil and paints and those who simply admire the beauty of the world around them. In particular, anyone who has mastered the skills of working in this wonderful editor can create an original author's greeting card with his own hands. To do this, you just need to be able to add text to the image.

Necessary
Adobe Photoshop Image
Instructions
Step 1
Open the image.
Step 2
In the toolbar, find the letter T - this is the tool that allows you to add text to the image. Decide whether your text will be horizontal or vertical. Horizontal text runs from left to right, vertical text from top to bottom. On the property bar, set all the necessary text parameters: font type, size and color of letters. Type text on the keyboard. If the letters are too large or small, you can resize them by applying a free transformation to the layer with the caption. Press Ctrl + T keys. After a frame appears around the text, press the Shift key, move the cursor over one of the corner nodes and move the mouse to change the size of the inscription.
Step 3
On the property bar, notice the Create warped text button, second from the right. Click on it. In the dialog box that appears, expand the Style list by clicking on the triangle pointing down. Choose the type of lettering distortion that best suits your design. Let's say it will be the arc style. You can change the radius of curvature and the degree of vertical and horizontal distortion by moving the sliders in the Bend, Horizontal Distortion and Vertical Distortion boxes
Step 4
Right-click on the letter layer and choose the Rasterize Type command. Now you can apply any styles, filters and gradients to this layer. Since in this case the inscription is added to the ball, it would be appropriate to use spherical distortion. From the main menu choose Filter, then Distort and Spherize, Amount = 100%.
Step 5
Merge two layers with inscriptions into one Ctrl + E. Double click on the icon, go to the Layer Style menu and select the Drop Shadow option. Set the Distance and Size values to 3 pixels, for the shadow color choose a dark shade of the caption color. Choose Inner Shadow and leave the default values. You have received a large text.
Step 6
Select the Bevel and Amboss option, set the parameter values as in the picture, or you can experiment on your own. Apply a Gradient style to the layer, try changing the values of the parameters and see how the appearance of the letters changes.


