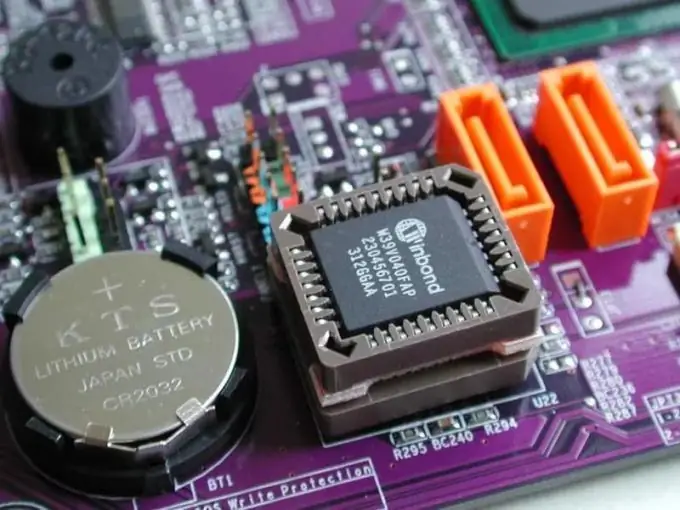
It is difficult to flash bios on an asus motherboard or any other motherboard, the process requires some skills, the process goes through DOS. The firmware itself can be carried out both through the built-in utility in the BIOS, and by loading from a third-party media.

How do I start a BIOS update using the built-in utility?
- Let's update the BIOS using the utility included with the BIOS.
- First of all, when loading the BIOS, you should pay attention to the second line, which informs us about who produced our motherboard with an indication of the motherboard model.
- Having received the necessary information from this line, you can go to the manufacturer's website and download the BIOS specifically for your motherboard.
- And once again I would like to draw your attention to the fact that there must be one hundred percent compliance with the information in this line. It should be clearly your model, not similar with only one letter difference, namely, one hundred percent match. If not, don't even try to upgrade, because there is a very high chance of future download problems.
- Press the key combination alt="Image" + F2 in order to launch the program that allows you to burn the BIOS.
- If you see the word "Flash" during startup, then keep in mind that this is most likely the launch of a BIOS flashing program.
- Thus, I can immediately launch the utility for flashing, I can also go into the BIOS and start the firmware directly from the BIOS.
Update process
- Press the Del key in order to get into the BIOS.
- Here in the Tools section there is the ASUS EZ Flash 2 tool.
- Different manufacturers have different names for it, but in most cases the word Flash is present there.
- We launch the program, confirm the launch by pressing the Enter key.
- Here you need to select a file in order to update.
- On the left side we have information about the motherboard and the current BIOS version.
- Let's take a look at the tips indicated at the bottom of the window.
- The Tab key is toggle. I need to switch to another disk, because I have previously recorded a file that I downloaded from the manufacturer's website. Without fail, it was previously unpacked from the archive. Already unpacked, I saved it to a USB flash drive.
- You can pre-cycle your media with the Tab key.
- After selecting the media containing the BIOS update file and the BIOS update file, simply press the Enter key.
- After clicking, the file is checked and the last warning appears.
- Here, using the arrows, move the cursor to the option "Yes" and press "Enter".
- The check is complete and the computer automatically restarts after 5 seconds.
- After updating the BIOS, the BIOS recovery and boot options appear:
- Press F1 to Run Setup
- Press F2 to load default values and continue
- That is, I need to restore the parameters that were previously in the BIOS, so you will be ready for this.
- All changes that you made to the settings will need to be repeated after the update procedure. In my case, the BIOS offers two options. In the first case, you can load the default parameters by pressing the F2 function key, and thus continue to boot the computer. In the second case, you can press the F1 key in order to enter Setup. In my case, we choose the second option.
- Run the BIOS update utility again and here on the left side we see the new version 2105 and a fresh new date.
- Thus, we have safely updated the BIOS on our computer.
- By pressing the "Esc" key, you can exit the "EZ Flash 2" utility, move to the left with the arrow and press "Enter".
- In the BIOS, in the "Exit" tab, load the default parameters by clicking on the "Load Setup Defaults" item and then configure the parameters that we discussed with you.
- We will definitely need to re-configure it after we have performed a BIOS update. Therefore, be prepared for this and do not be alarmed by the fact that your computer did not start immediately after updating the BIOS. At least he needs to load at least the default parameters.
Thus, you have an idea of how to update the drivers in the BIOS.


