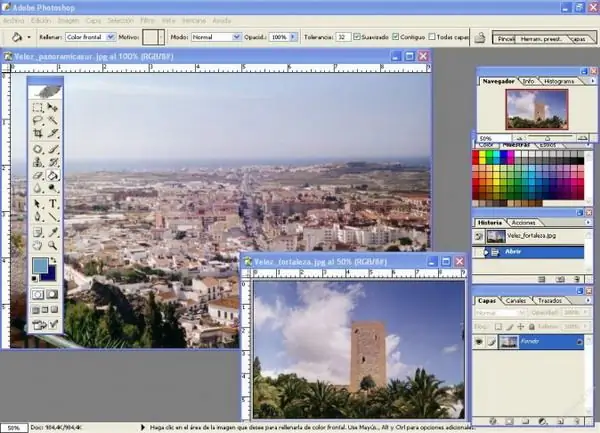
You have taken digital photos. And the question inevitably arises before you: what next? If you are going to view them only on a computer, then you can leave everything as it is, and if some of them need to be printed, then it is advisable to improve them a little, at least to "crop" as expected. It's simple, but the darkroom will take extra money for it, and it's not a fact that they will do it the way you need it. As an example, we will consider preparing a photograph of 10x15 cm (the most common format).

Necessary
Computer, Adobe Photoshop, file (photograph)
Instructions
Step 1
Launch Adobe Photoshop and open the processed image. After that, on the toolbar, select the "crop" tool and in the appeared menu fields enter: width - 15 and height - 10 cm, resolution - 300 pixels / inch.
Step 2
Place the mouse pointer at the upper left point of the fragment you need, press the left button and drag the pointer diagonally until you reach the lower right point of the fragment you plan to print. Now you can see a fragment of the image that will appear in the photo.
Step 3
If the borders are not quite where you would like, place the pointer inside the selected frame, press the left button and move the frame so that everything that needs to be printed is included. It is possible that the initially selected frame will turn out to be too large or smaller than necessary. Then resize it by grabbing a corner with the mouse. Note that resizing occurs both horizontally and vertically.
Step 4
Right-click on the frame and select "crop" from the menu that appears. The photo will appear on the screen in the format in which it will be printed. Next, you need to make sure that the dimensions of the saved image are what you need. To do this, choose Image Size from the Image menu and make sure that the width, height, and resolution of the image are the same as previously set.
Step 5
Save the photo. To do this, in the "File" menu, select "Save as …", specify the path to the folder with the file, the format of the saved image and click "OK". It is better to set the file format to JPEG. This completes the elementary preparation of the photo file for printing. If you need to change other image parameters, then you cannot do without a deeper study of Adobe Photoshop.


