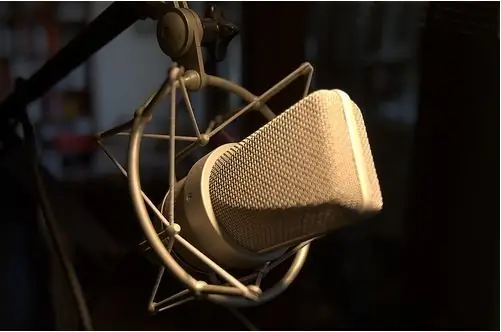
Many people who create their own video tutorials are wondering about recording voice on a computer. Indeed, the standard operating system tools do not meet such needs. I would like the voice to be recorded with high quality, with the ability to overlay effects. To resolve this issue, we will use two programs: Adobe Audition and audacity.

Necessary
- 1) Microphone
- 2) The audacity program
- 3) Adobe Audition program
Instructions
Step 1
First, we connect the microphone to your computer. Usually the port is located on the sound card on the back of the computer, and is indicated in pink. After that, we configure the microphone through the standard audio driver applications.
Step 2
Open the audacity program. The interface here is pretty simple, and you'll see for yourself. To get started, press "file", then select "new" or press the key combination "ctrl + n". Several buttons are visible at the top of the toolbar. They are responsible for playing, rewinding, stopping, pausing, and recording. To start recording, press the "record" button, which looks like a red circle. The whole recording has started and you can start recording your voice. If you need to pause the recording, then click the "pause" button. Then you can continue it by pressing this button again. After the end of the recording, press the "stop" key. Then we select the item "file", then choose between exporting to WAV or MP3. We save the sound file.
Step 3
We proceed to the next program. Adobe Audition is a more professional application for creating and processing voice fragments. Click "file", then "new session". We see several tracks, on each of which you can record simultaneously. But first, we need to prepare them for recording. We find the tab "main", which is in the box to the left of the top track. We see three letters: G, S, Z. By pressing the first, we will muffle the sound on this track, by pressing the second, we turn on the solo mode. But now the third is important for us, the inclusion of which will prepare the track for recording.
Step 4
Once the track is ready for recording, in the lower left corner we see the button bar. In fact, the same panel as in the previous program. Press the record button and start recording your voice. At the end, press stop.
After that, we proceed to save the file on the computer. Open the "file" tab, then "export" and the sub-item "audio mixer". Select the location to save the file, its type (MP3), click save. The voice file is ready.


