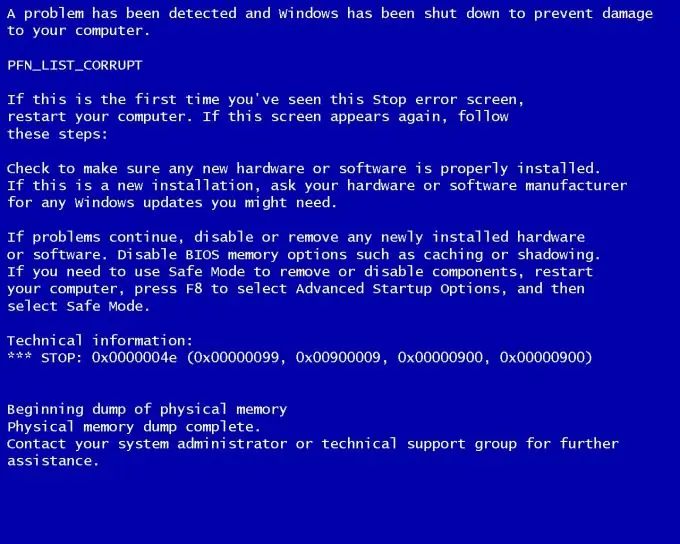
Any operating system has a habit of accumulating errors, leading sooner or later to system failures. The Windows "weapon" designed to deal with system errors is the automatic reboot tool. At the same time, sometimes it is necessary to disable the automatic reboots function to find out the reasons causing them.

Instructions
Step 1
Click the "Start" button located in the lower left corner of the desktop screen to bring up the main menu and select "My Computer".
Step 2
Call the service menu by right-clicking on the "My Computer" field and go to the "Properties" section.
Step 3
Go to the "Advanced" tab in the "System Properties" window that opens (Windows XP) or select "Advanced system settings" and go to the "Advanced" tab (Windows Vista / 7).
Step 4
Click the "Options" button in the "Startup and Recovery" section of the "Advanced" tab of the main system menu.
Step 5
Select the "System Failure" section in the dialog box that opens.
Step 6
Uncheck the "Automatically restart" box in the "System Failure" section of the main computer menu.
The result of the operation will be the termination of automatic reboots or shutdown of the computer when a critical error appears and the appearance of a "blue screen of death" (blue screen with a BSOD code).
An alternative method of disabling the automatic restart protection mechanism or shutting down the computer is to use the command line utility.
Step 7
Click the Start button to bring up the Windows main menu.
Step 8
Select "All Programs" and go to the "Accessories" section.
Step 9
Specify the "Command Line" menu item in the "Standard" subsection of the main menu.
Step 10
Enter shutdown / a during the timeout period.
Step 11
Use the / tnnn parameter to select the amount of time to wait before restarting or shutting down the computer. It can be set from 0 to 600 seconds. The default time-out is 30 seconds.
This will cancel the restart or shutdown of the computer.


