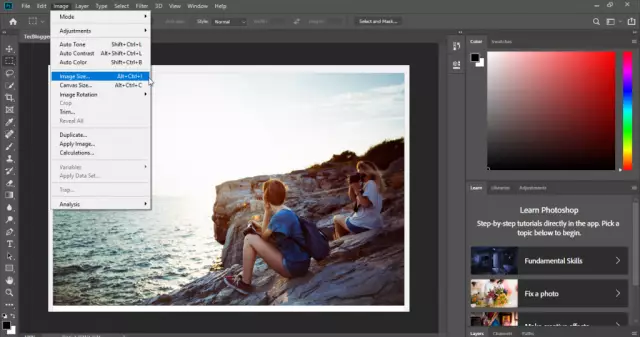
Sometimes you need to transfer a large number of photos from one computer to another. If these photos are taken in very good quality, their size and weight will be very large. This can lead to some inconvenience. For example, all photos may simply not fit on a flash drive or disk. It's easy to get out of this situation. You need to reduce the quality and size of your photos.
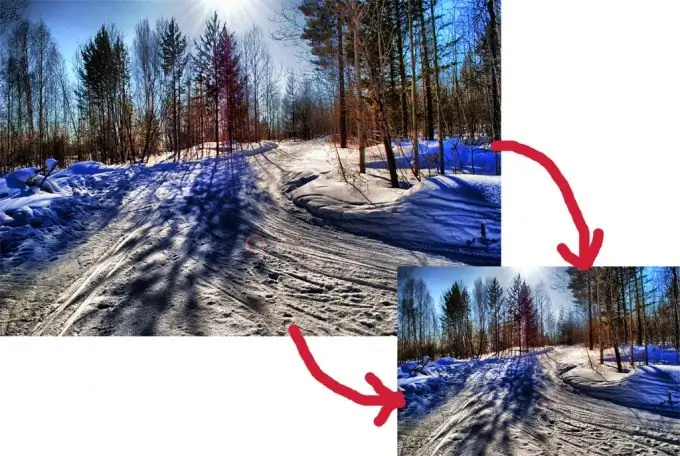
Necessary
- - photos
- - Microsoft picture manager
Instructions
Step 1
There are several ways to reduce the quality of images. Let's consider the simplest one. First, copy all the reduced photos into a separate folder, call it “reduced copies”. It is very convenient when there are photos of average quality for uploading to the Internet and transferring to a USB flash drive to a neighboring computer. But at the same time, there should be pictures of the original sizes, which you will need if you decide to print them on paper.
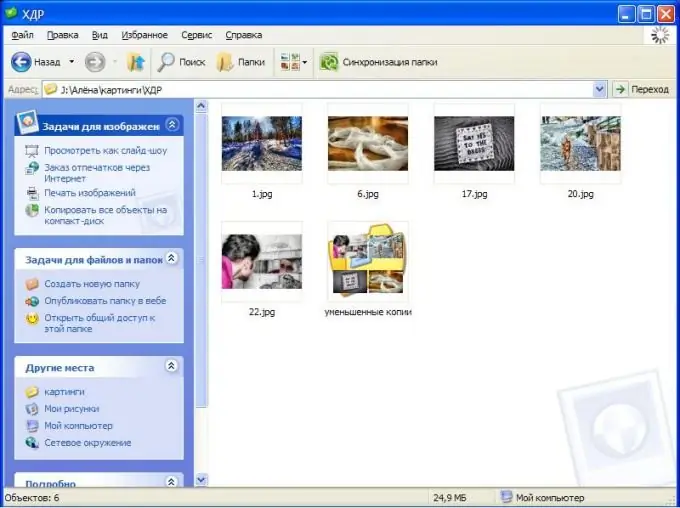
Step 2
Now open the "thumbnails" folder and start actually reducing the quality. Click on the first photo with the right mouse button and select "open with → Microsoft picture manager". This is a standard built-in program and is usually found on every computer.
Step 3
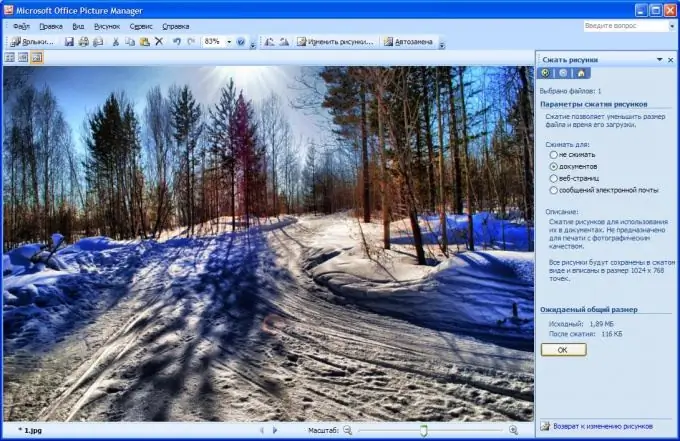
On the top menu, click Change Pictures. A field will appear to the right of the photo in which you can choose what exactly you will change. Select the very bottom line "Compress Pictures".
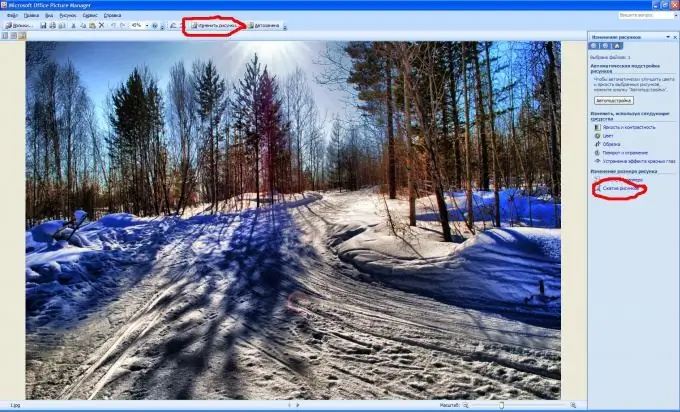
Step 4
Compression options appear in the same right margin. The most optimal one is for documents. If you choose it, your photo will be compressed and fit to 1024x768 pixels. You will also see a warning just below that the image is not suitable for photographic quality printing. But it is quite suitable for viewing with friends on a computer monitor. So under the line is the weight of the photo before compression and after compression. The difference, as you can see, is big. Click ok.
Step 5
Then go to the next photo by clicking on the arrow below the photo. Do all the same operations as with the previous photo. And so, step by step, we process all the photos. When you're done, click "File - Save All". The program can now be closed. The quality of the photos is reduced.


