Linux-based desktop operating systems are gaining popularity today. Many Windows users, wanting to familiarize themselves with their capabilities, install this or that assembly as a second operating system. Later, wanting to remove Linux and leave Windows, they face a problem arising from the need to reset the Master Boot Record to its original state.

Necessary
- - Windows installation disk;
- - administrator password for the installed copy of Windows.
Instructions
Step 1
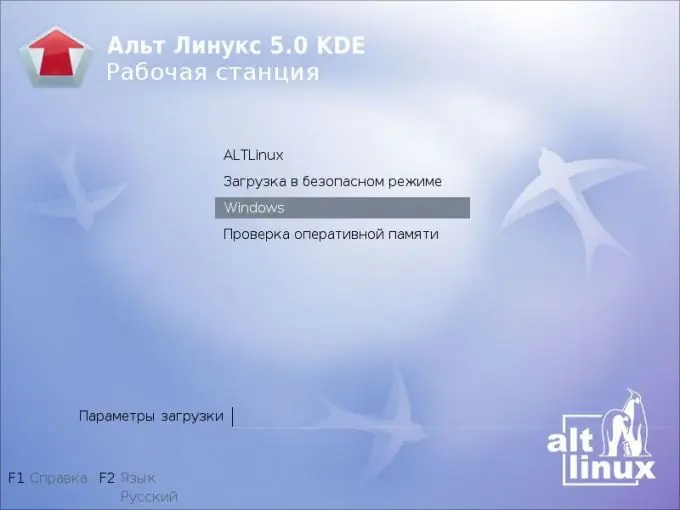
Boot Windows. In the Linux bootloader menu, select the appropriate item. Sign in with an account that belongs to the Administrators group.
Step 2
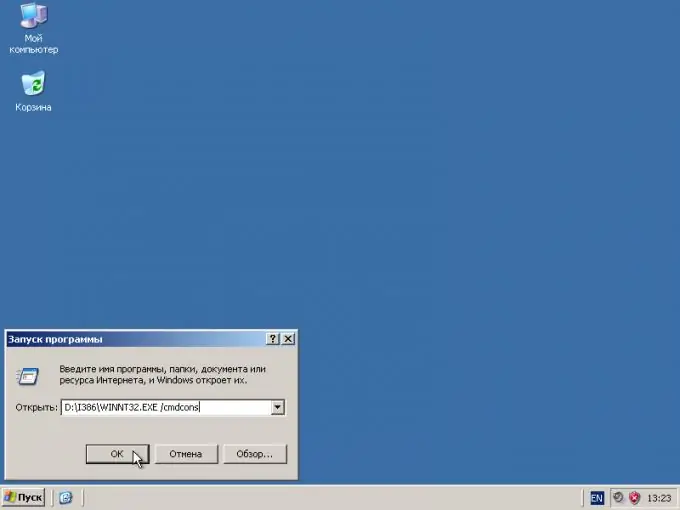
Start the installation process for the Recovery Console. Insert the Windows distribution disc into the drive. Click on the "Start" button and open the "Run Programs" dialog by selecting "Run" from the menu. Click on the "Browse …" button. In the displayed dialog, navigate to the contents of the Windows distribution disk. Enter the i386 folder. Select the winnt32.exe file and click the Open button. In the Run Programs dialog, add the / cmdcons parameter after the path to the winnt32.exe file, separated by a space. Click OK.
Step 3
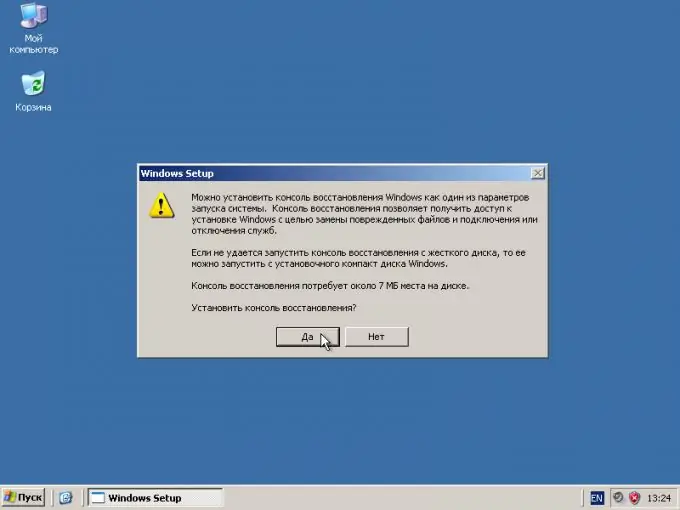
Install Recovery Console to your hard drive. In the displayed Windows Setup dialog, click on the "Yes" button. Wait for the installation wizard window to appear. Follow the suggested instructions.
Step 4
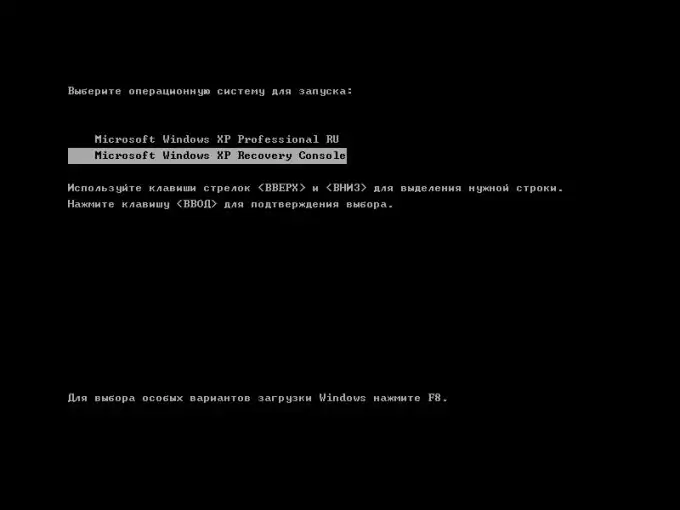
Start Recovery Console. Reboot your computer. From the Linux bootloader menu, select Windows. A menu with options for loading that operating system will be displayed. Select the item that ends with the Recovery Console.
Step 5
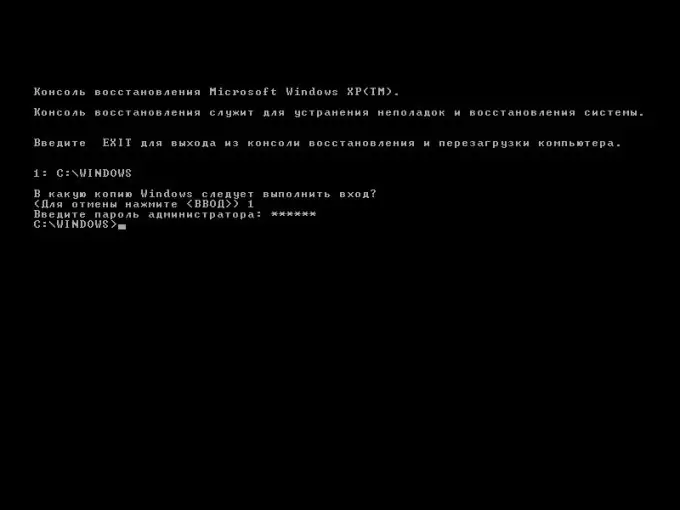
Enter the Recovery Console. Enter the number corresponding to one of the installed copies of Windows (their list is displayed above the query line). Hit Enter. Enter the administrative password and press Enter again.
Step 6
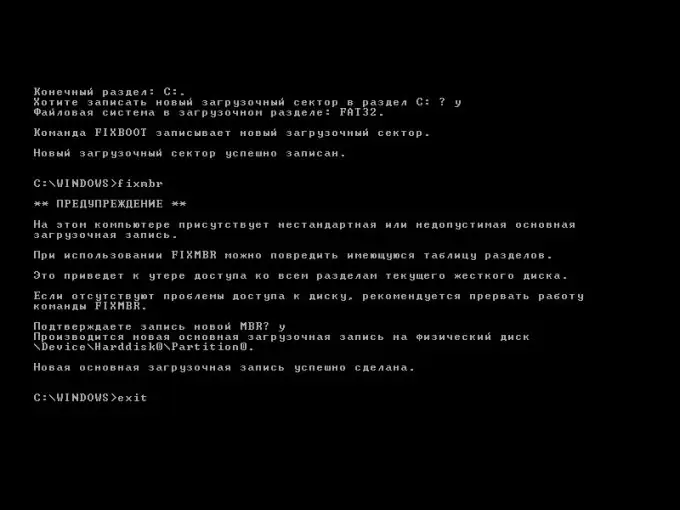
Write the new boot sector to the system partition with the selected copy of Windows. In the recovery console, run the fixboot command without parameters. Overwrite the Master Boot Record. Run the fixmbr command without parameters. If a warning message appears, type Y and press Enter. Start a reboot by running the exit command. With this, you will see that the Linux bootloader no longer starts.
Step 7
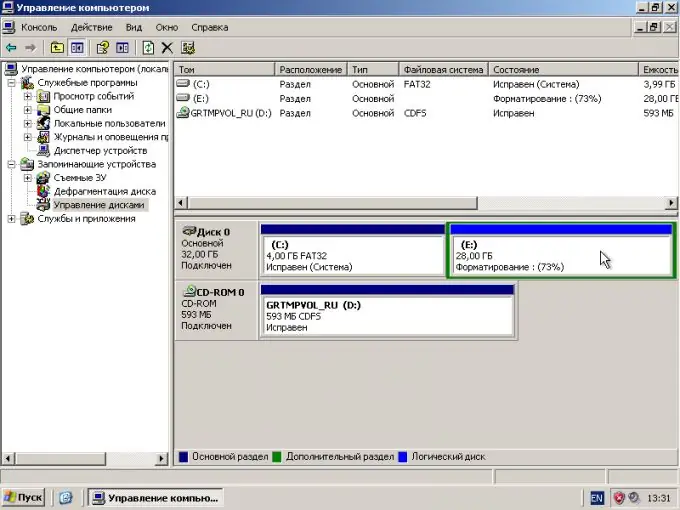
Remove Linux from the allotted disk partitions. Make them available for use on Windows. Log in using an account with administrative rights. Start Computer Management by opening the shortcut with the appropriate name in the Administrative Tools folder in the Control Panel. Activate the Disk Management snap-in. Remove partitions occupied by Linux. Use the free space to create new partitions and logical drives of the required size. Format them with FAT32 or NTFS file system.
Step 8
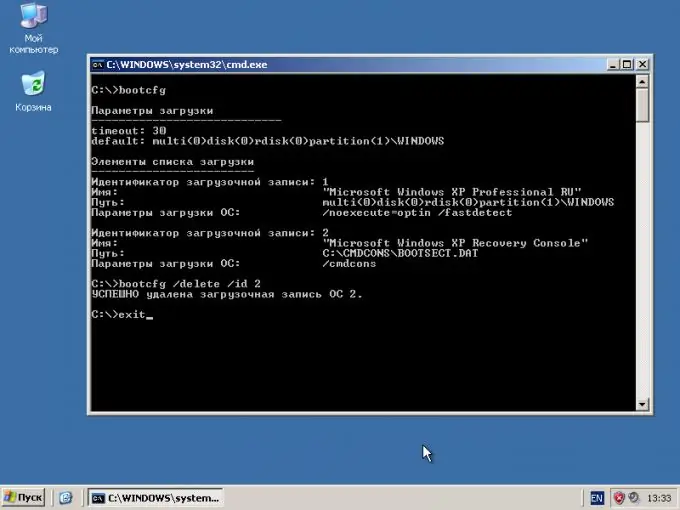
If necessary, delete the Windows boot menu item corresponding to the Recovery Console. Start the command processor. To do this, open the "Run Programs" dialog, enter cmd in the "Open" field and click OK. Run the bootcfg command. Review the displayed list of boot options and determine the ID of the boot record you want to delete. Run a command like this:
bootcfg / delete / id, where is the found id. Close the shell window by typing exit and pressing Enter.
Step 9
Reboot your computer. Make sure Windows boots without error.


