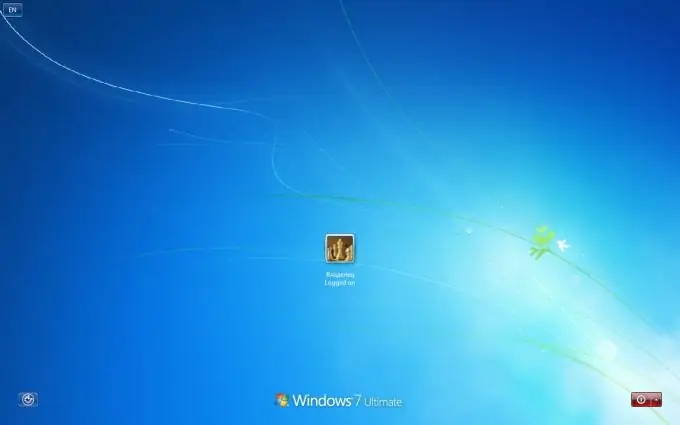
You may need to restore the Welcome screen if some services disable this feature on your system (for example, the NetWare Client Service). Carrying out this operation does not require special computer training and is available to any user of the Windows operating system.

Instructions
Step 1
Make sure that you are logged in with a computer administrator account. To do this, try changing the system time in the tray, which is displayed in the lower right corner of your computer monitor. If a warning window appears with the message "Insufficient rights to change the system time" indicates that the account you are using does not have administrator access rights. Use a different entry or contact the administrator of this computer for assistance.
Step 2
Press the "Start" button to enter the main menu of the system and go to the "Settings" item.
Step 3
Select the "Control Panel" item and open the "Accounts" component by double-clicking on the component field.
Step 4
Specify the link "Change the way to log in and out of the system" and use the checkbox in the field "Use the welcome screen" to log in users through the welcome window, with the need to select the desired account and enter a password.
Step 5
Uncheck the box next to "Use the Welcome Screen" to log in through the standard Windows Logon dialog box with a username and password.
Step 6
Use an alternative method to restore the classic welcome window using the registry editor (advanced users only).
Step 7
Return to the main Start menu and go to Run to invoke the command line tool.
Step 8
Enter gpegit.msc in the Open field and press Enter to confirm the command.
Step 9
In the list on the left side of the window that opens, select the settings key with the value computer configuration -> administrative templates -> system -> logon.
Step 10
Select Always Use Classic logon and make sure it is set to disable.
Step 11
Reboot the system to apply the selected changes.


