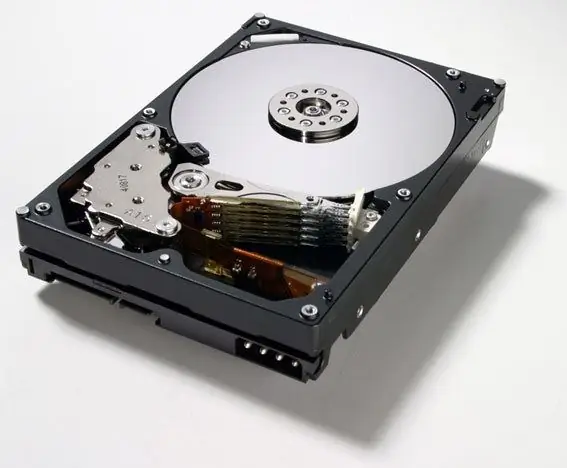
Sometimes, when the operating system starts, it automatically scans the hard drive for problems and errors. Often this is preceded by an incorrect shutdown of the OS or its sudden reboot. Somewhat less often, the hard drive undergoes similar checks every time the computer is turned on. To avoid this, you can disable this function.

Necessary
Windows computer
Instructions
Step 1
To disable automatic checking, enter the "Start" menu, select "All Programs" in the list that appears, then "Standard". Find the command line in the list of standard programs and run it.
Step 2
In the window that appears, enter the command Chkntfs С: / x. Please note that the letter C in this case corresponds to the name of one of the hard drives. Instead, you can substitute the letter of another section. Confirmation of the command is completed by pressing the Enter key. From now on, the automatic check of the C drive will be disabled. A similar operation should be done with all partitions of the hard drive.
Step 3
The second way to disable automatic checking is to edit the data of the Windows operating system registry. To do this, you must enter Regedit32.exe at the command line. After that, expand the SYSTEM section in HKEY_LOCAL_MACHINE, then CurrentControlSet and Control. Then select the Session Manager line with the cursor.
Step 4
The BootExecute branch will appear on the right side of the registry, by double clicking on it, you can enter the edit menu. In the Autocheck autochk * value that appears, just remove the asterisk. To complete, you need to save the settings and exit the registry editor.


