The effect of a muddy, washed-out background in an image is now more popular than ever. A similar effect can be achieved with special settings and shutter speed on the camera. But if you already have an image with a regular background, and you want to blur it, then only Photoshop will help here. How to achieve this effect is described below.
Instructions
Step 1
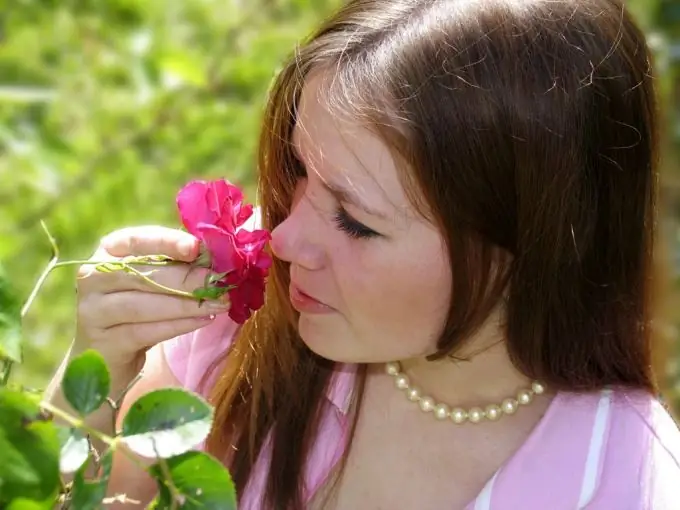
Pick a photo where you want to change the background. It is best to choose a high-quality image with a large figure in the foreground - in this case, the final result will look much better. Try to avoid photographs with very small details - for example, it will be quite difficult to make a similar effect on a photo where a girl has very disheveled hair.
Step 2
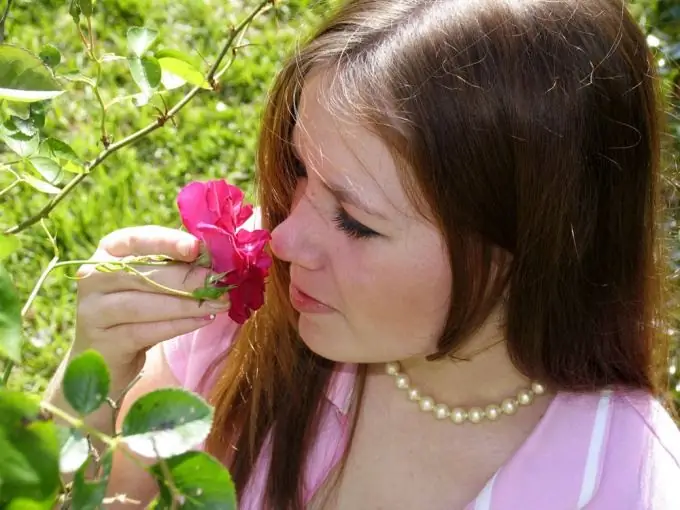
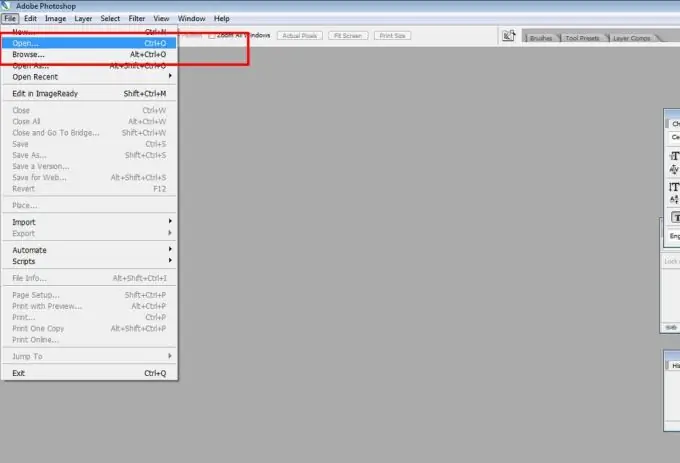
Now launch Adobe Photoshop and open the photo you will be working with. In this photo, the background is already slightly blurred, then we will enhance the effect.
Step 3
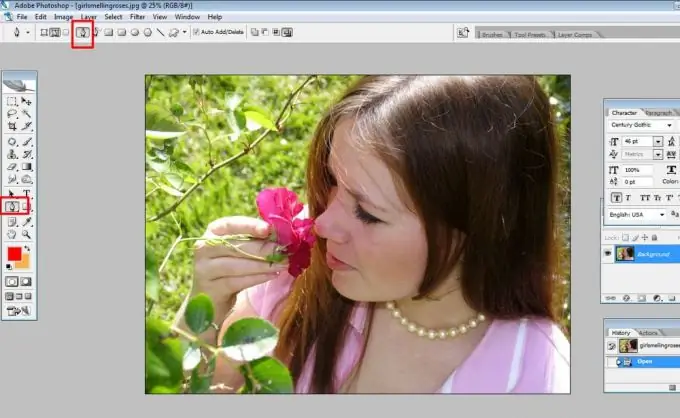
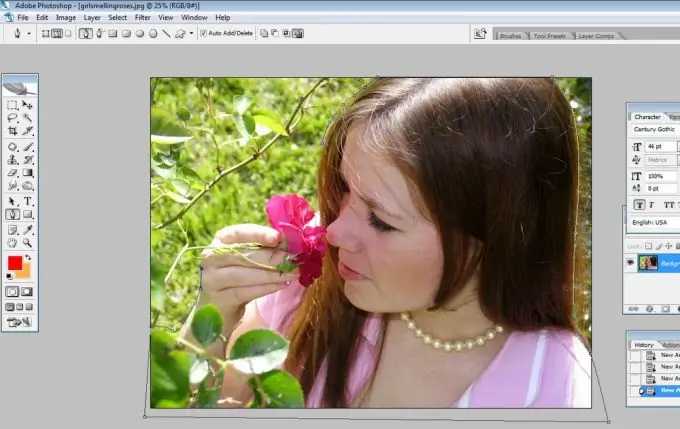
Now select the 'Pen tool' from the toolbox. On the top bar, select the icon with the image of a feather on a square.
Step 4
Using the pen, placing points along the contour, circle the shape that will be in the foreground. In our case, this is the figure of a girl and a flower, in addition, we will capture part of the leaves from the foreground. Try to trace neatly without "cutting off" the details of the image. Everything that remains behind the outline will be the blurred background. If you are unable to trace the path evenly, then it is better to capture more space than less - in the future it can be corrected. In the sewing business, this would be called a seam allowance.
Step 5
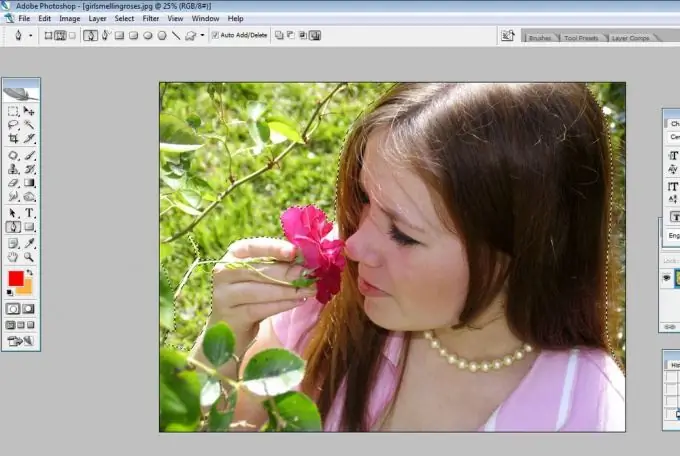
Click on the image with the right mouse button and select the 'Make selection' command. Your object is now highlighted with a dotted line.
Step 6
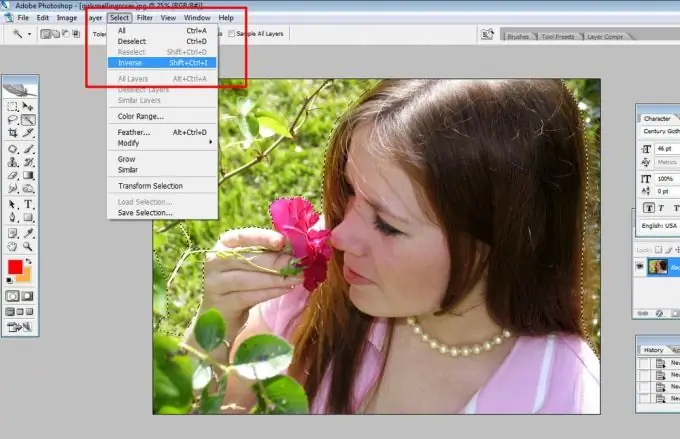
Select ‘Select’ and then ‘Inverse’ from the top menu. Now we have the background selected, not the object.
Step 7
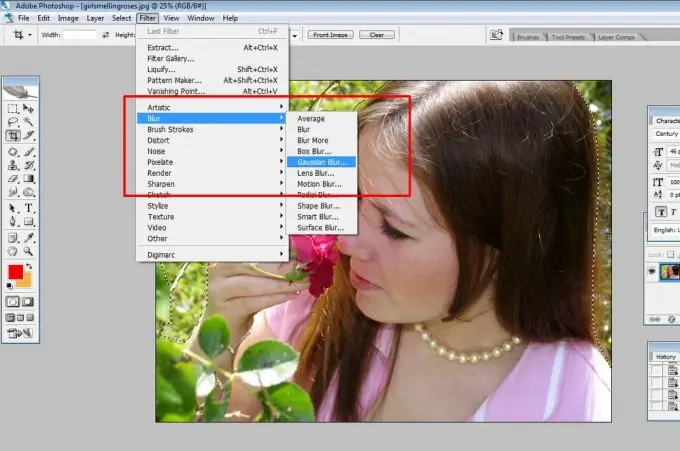
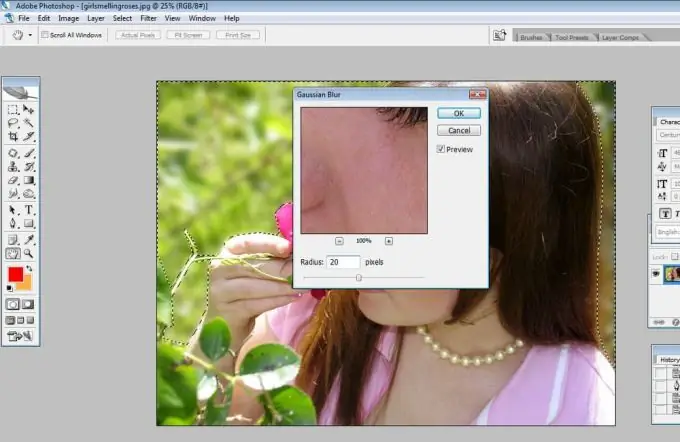
Now in the top menu select the ‘Filter’ tab, then ‘Blur’, then ‘Gaussian Blur’.
Step 8
In the window that appears, set the desired value. In this case, we'll choose 20.
Step 9
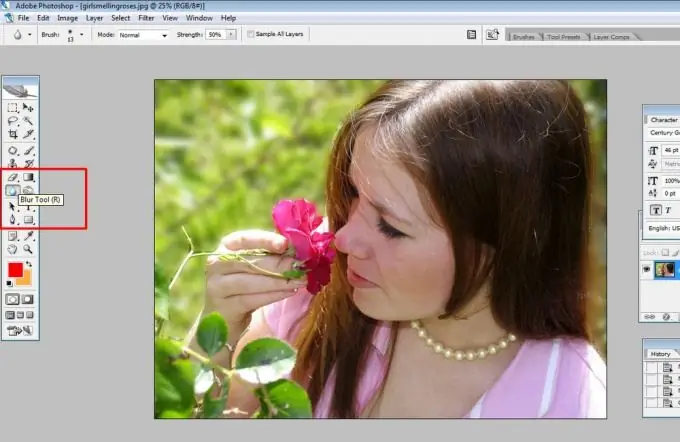
Then, if necessary, grab the 'Blur tool' and use a thin brush to further blur the edges around the object. Try not to capture the path itself, so that the image will turn out to be realistic.
Step 10
Now save the image in the format you need.


