To make your computer part of a local network - at home or in an organization - it is not enough just to connect a cable. You also need to configure your computer to work together with other computers.

Necessary
To connect, you will need - knowledge of basic network settings and skills in their installation, data from the network system administrator - the type of local network (peer-to-peer or organized into a domain), and, if necessary, an account in the domain
Instructions
Step 1
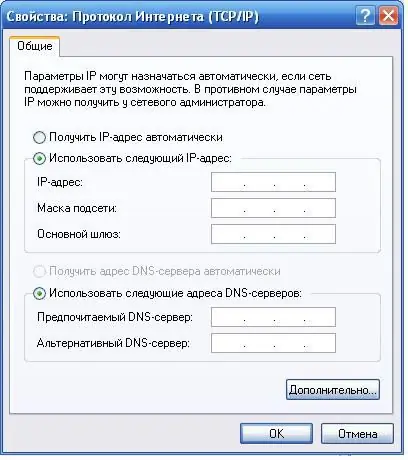
First of all, configure the parameters of the network card. Enter the IP address, subnet mask, and default gateway address given to you by your system administrator. If the network is self-configuring (DHCP is used), then you need to skip this step - the automation will do everything for you.

Step 2
Further, if you have a peer-to-peer local area network, you must specify the computer name and the name of the workgroup. Right-click on the My Computer icon and select Properties from the context menu. In the window that opens, select the "computer name" subsection and click the "change" button.

Step 3
Enter in the appropriate fields the name of the computer and the name of the workgroup that the computer belongs to. Reboot your computer.

Step 4
When connecting to a local area network with a domain, it is best to use the connection wizard. Repeat the same steps as described above, but instead of the "change" button, click the "identification" button, which starts the guided configuration process. Press the "next" button four times without changing the values of the switches. Next, enter in the appropriate fields your username, password and domain name given to you by the system administrator. Click Next. After completing the configuration, restart your computer. After rebooting, you can use all the resources that the local network provides you.


