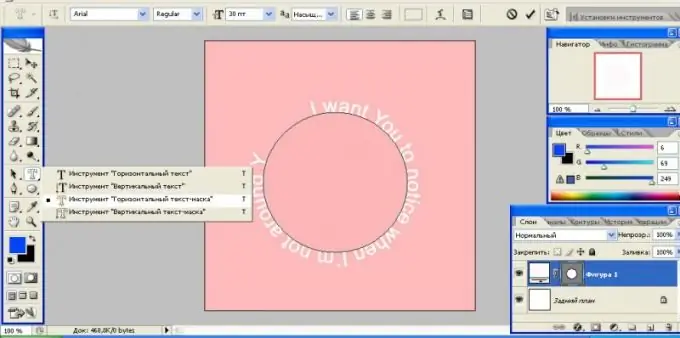
Very often we need to print text not just horizontally or vertically, but, for example, along the outline of a shape. Fortunately, most image editors support this feature.

Necessary
Adobe Photoshop or another image editing program with similar functionality
Instructions
Step 1
Download Adobe Photoshop, preferably the latest version. Install it on your computer following the instructions in the installer menu. Use the trial period or buy a license to use the program from the manufacturer. Also, it can be any graphics editor that supports this function, the scheme of further actions will be approximately the same as in the case of the Photoshop application.
Step 2
Open your installed Photoshop program. Select the "Create a new file" item, set its name and size in its initial parameters. You can also open any image you have on your computer using the same menu. On the left toolbar, select Draw Circle.
Step 3
Draw a circle with the diameter of the text you need, which will be located along the edges. If you don't want the outlines to be visible, make the circle the same color as the background of the image itself. You can also select any other shape or draw your own, along its contour the text will be located in the same way as in the case and with a circle.
Step 4
Select the letter tool, right-click on it, select the horizontal or vertical text mask. It may also have a different name depending on the installed version and the availability of the localization. Adjust the print settings - font, letter size, indentation, spacing, and so on.
Step 5
Click on the circle image, after an oblique blinking cursor appears on its axis, write your text and pin the layer. Keep in mind that letters and words that do not fit will not be displayed in the picture, so it is best to calculate the place and font in advance.
Step 6
Save the image through the menu "File", "Save as …". Set the desired quality parameters before closing.


