In this tutorial, I'll show you how to create an isometric mesh in Illustrator in a few easy steps.

Necessary
- Adobe Illustrator CS3 or higher
- Proficiency level: Beginner
- Time to complete: 2 minutes
Instructions
Step 1
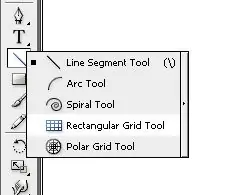
Create a new document and select the Rectangular Grid Tool.
Step 2
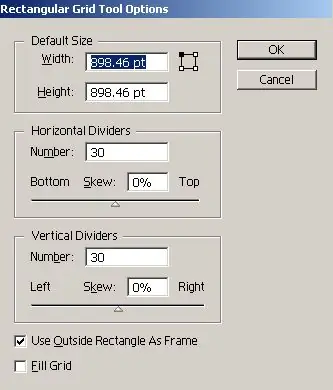
Press Enter and specify mesh options. The number of vertical and horizontal dividers depends on your project, enter the parameters according to your requirements.
Step 3
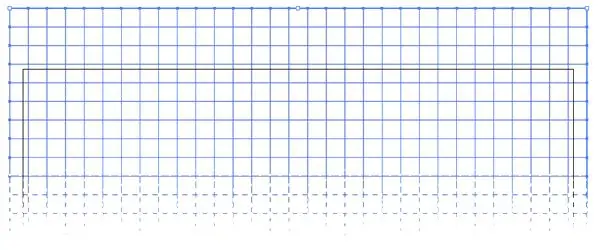
You now have two options. You can enter exact width and height values (not recommended), in which case you need to enter the same width and height values to get a square grid. In the second case, you can simply stretch the mesh with the mouse while holding down the Shift key.
Step 4
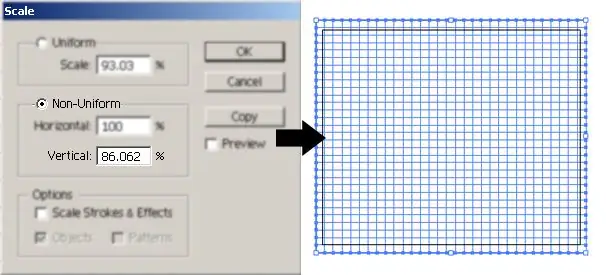
Select the mesh and go to Object> Transform> Scale, select the Non-Uniform option and enter 86.062% for the Vertical parameter. Click OK.
Step 5
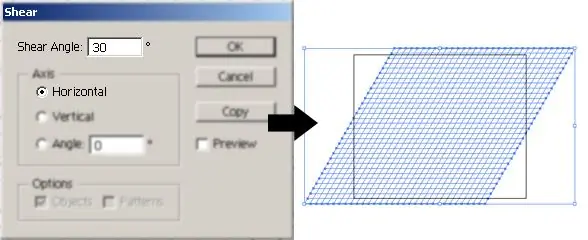
Without deselecting the mesh, go to Object> Transform> Shear and set the Angle to 30. Click OK.
Step 6
Go to Object> Transform> Rotate and set the Angle to -30. Click OK.

Step 7
The mesh is now complete. All you have to do is convert it to guides. Select the mesh and go to View> Guides> Make Guides or hold down the keyboard shortcut Ctrl + 5.


