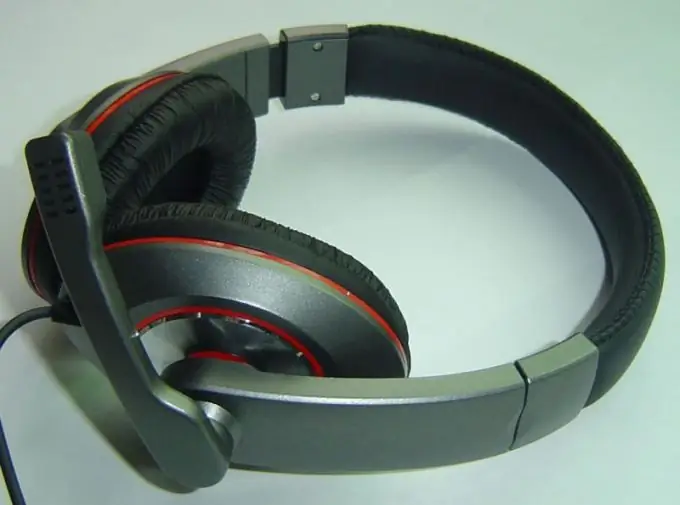
Modern technical means enable full-fledged communication on the Internet. You can not only correspond, but also talk if you have a microphone and devices for sound reproduction - headphones or speakers.

Instructions
Step 1
Microphone connectors are usually marked in pink. After connecting the microphone, hover the cursor over the speaker images in the tray, press the right mouse button and in the drop-down menu select the "Audio settings" command.
You can call this option differently. Go to the "Control Panel" and double-click the "Sounds and Audio Devices" node.
Step 2
Go to the "Speech" tab. In the "Speech Recorder" section, mark the device that is used on your computer in the list and click the "Volume" button. In the new "Recording Level" window in the "Options" menu, select the "Properties" command. Check the boxes next to the volume controls that will appear in the audio settings window. Press OK to confirm your selection.

Step 3
Return to the "Speech" tab and in the "Record …" section click "Check". At this stage, the system checks your hardware settings. Click Next to launch the Configuration Wizard and follow the instructions in the Wizard. If your equipment is in good working order, and you have configured it correctly, the system will report: "The test was completed successfully …".
Step 4
If you have Windows7 installed, in the Control Panel, double-click the Sound icon. Go to the "Recording" tab, mark "Microphone" and click the "Properties" button.
Step 5
In the "General" tab from the "Device Application" list, select "Use this device". Go to the "Levels" tab and set the maximum value.
You can check the operation of the microphone in the "Listen" tab. There, select the audio playback devices and say a few phrases.
Step 6
To configure your microphone to work in Skype, launch this program and select the "Options" option from the "Tools" menu. In the "General settings" section, check "Sound settings". From the list "Audio input" select the microphone that you have installed. Check the "Allow automatic sound settings" checkbox.
Step 7
In the Audio Output section, configure the settings for your audio playback device. Click “Save” to confirm the settings.


