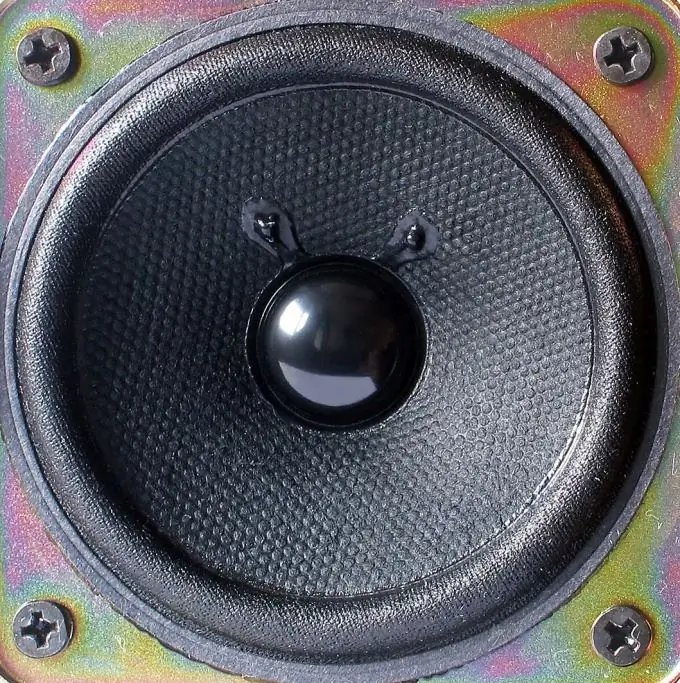
In addition to the sound card, the computer has a built-in speaker control unit. The speaker itself, however, is often forgotten when assembling the machine. It may be needed when starting old programs, as well as when diagnosing a machine.

Instructions
Step 1
Examine the motherboard carefully. It may already have a miniature loudspeaker. It has about the same diameter as a penny coin and comes in a black case. If you cannot find it, try starting the machine without attaching an external speaker to the motherboard. With such a speaker, you will hear a single beep during the Power-On Self-Test (POST).
Step 2
If it turns out that the built-in speaker is missing on the motherboard, first try to find a large speaker in your computer case. Sometimes it is not visible for the reason that it is hidden between the metal front wall of the case and the plastic false panel. But in any case, a two-wire cable with a connector at the end is attached to it. This connector is usually written Speaker.
Step 3
It also happens that the connectors are not signed in any way. In this case, look for a cable with a wide four-pin connector that is not connected to the motherboard. The wires should fit only to its first and last contacts, and the middle ones should not be connected anywhere, or they may be completely absent. Take a regular 1.5 V battery. Insert a pin into the first and last slot of the connector and connect them to the battery. If you hear clicks when connecting and disconnecting, then this is the speaker connector. Do not touch the contacts, so as not to get hit by self-induction voltage (a speaker is an inductive element). Then pull the pins out.
Step 4
Look for a combination of pins on the motherboard labeled Speaker or SPKR. There should also be four of them. To them and connect (with the machine de-energized) the speaker connector in any polarity.
Step 5
Start the computer, and then during the POST, make sure that the speaker is working correctly. Run any program that uses it.


