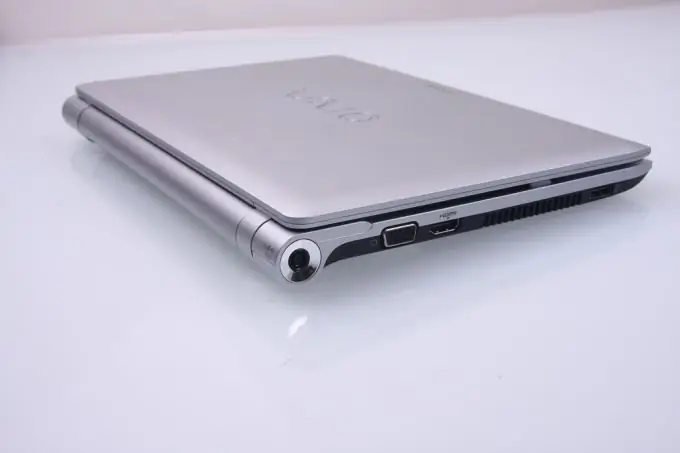
Sometimes a laptop needs to be taken apart for cleaning or upgrading. However, manufacturers provide information on disassembly only to specialized computer repair services. One way or another, you can disassemble the laptop at home. You just need to do it carefully.

It is necessary
Screwdriver
Instructions
Step 1
When disassembling a Sony Vaio netbook, you must first remove the battery. To do this, pull on the corresponding catch on the underside of the device and remove the battery.
Step 2
Remove all bolts from the bottom of the unit, including those under the rubber plugs. Remove the corresponding body parts that will come off after removing the bolts.
Step 3
Use a thin screwdriver to remove the plastic cover from the left hinge by releasing the inner latches.
Step 4
Next, start removing the keyboard by pulling the top panel slowly towards you. Pull it until the keyboard is completely detached from the base. Do not rush to remove it; first, disconnect the cable from the motherboard memory.
Step 5
In the part of the case, which is closer to the touchpad, there is a slot for RAM. Remove the unnecessary strip and replace it. Insert the new strip into the appropriate slot. To remove the RAM, lightly press on the slot, and then bend it at an angle of approximately 45 degrees. Release the corresponding latches. After that, you can carry out the replacement.
Step 6
To remove the hard drive, disconnect the USB and SD card. It is held by two screws, which must be unscrewed with a thin screwdriver.
Step 7
Remove the screw that secures the metal plate of the hard drive. Lift the hard drive, disconnect the ribbon cable. To do this, lift the connector and pull the cable out of it.
Step 8
After the upgrade and cleaning, reassemble the device in the reverse order.


