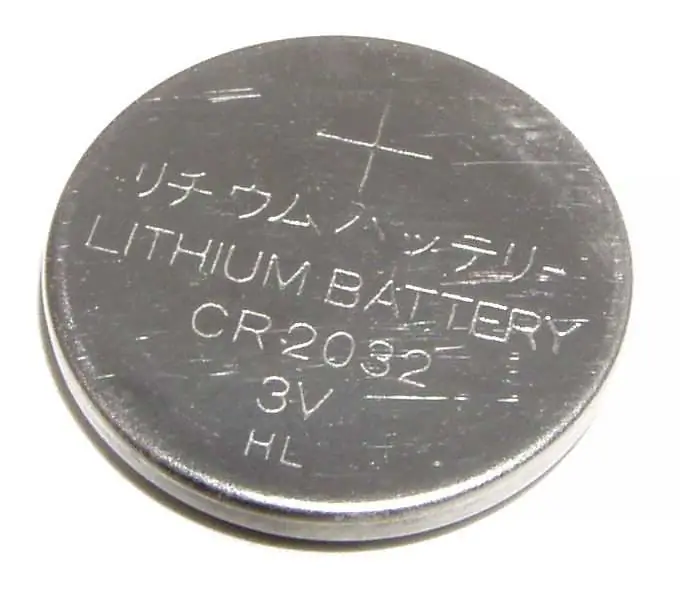
The lithium battery on the motherboard has a limited, albeit long, lifespan. Sooner or later, it will be discharged, which will lead to the need to set the time and date again each time the computer is turned on. To get rid of this need, the battery must be replaced.

Instructions
Step 1
Prepare your computer properly for the battery replacement procedure. Shut down the operating system and wait for the machine to shut down. But this is not enough. On many motherboards, even in the off mode, some of the nodes continue to operate from a standby power source. This can be signaled by an LED located on the board, but even if it is not there, there is no full guarantee that it is completely de-energized. Therefore, it is also necessary to physically disconnect the power supply with a special switch on it, or by pulling the power cable out of it.
Step 2
Examine the board to find a battery. If you can't see it, try removing the power supply - it might be underneath. Do this carefully so as not to drop the unit onto the processor fan (this also happens). If you still can't find the battery, try looking for a small black rectangular node with an alarm clock and "DALLAS" written on it. This is a non-separable real-time clock, inside of which there is a battery. It is impossible to change it without breaking this module; you will have to accept the need to set the time and date again every time you turn on the computer. Fortunately, this solution is rare and only found on older boards; very old boards use a dedicated battery instead of a battery. It is necessary to change it not due to discharge, but due to wear. Without the skills of soldering multilayer boards, it is better not to undertake such a replacement on your own.
Step 3
There is a lock on the battery holder. It is he who holds her in place. Pull this latch to the side and the battery will pop up. It remains to pull it out.
Step 4
The battery that has been removed must never be charged as it is a lithium battery and not a lithium-ion battery. An attempt to charge it even with a small current or short-circuit it threatens with fire. Try measuring the voltage on the battery. If it is about two volts, a quartz wall clock designed for 1.5 V can still work from it for a rather long time. Do not try to heat it with a soldering iron - use the holder removed from the faulty motherboard. recycling point, if any, in DEZ.
Step 5
If you are not sure if you can choose the right battery, take the old one with you to the store. Please note that some motherboards accept two types of elements: CR2025 and CR2032. The second is preferable: it usually costs the same, but lasts longer. Don't look for expensive batteries as they last the same size as cheap ones. Hewlett Packard computers may use non-standard batteries. In this case, you will have to put up with the high price of a new battery.
Step 6
To install a new element, place it with the positive terminal towards you and place it under the stop located in the holder opposite the retainer. Click on the battery and it will be under the catch.
Step 7
If you removed the power supply, replace it. Connect the power cable to the computer or turn on the power supply switch located on it. Close the computer case, start it, and immediately start quickly pressing the "F2" or "Delete" key on the keyboard (depending on the motherboard model) until you enter CMOS Setup. Re-set the time and date, then save the settings. Start using your computer.


