Cropping a frame or cropping is used quite often in video processing and video editing. Cropping allows you to select an arbitrary rectangular area in the source video so that only it will be included in the resulting video sequence. With the help of cropping, you can cut off black areas in digitized large-format films shot on film, and highlight successful scenes when editing home video. Modern video editing tools make this quite easy.

It is necessary
VirtualDub 1.9.9 is free video processing software available for download from virtualdub.org
Instructions
Step 1
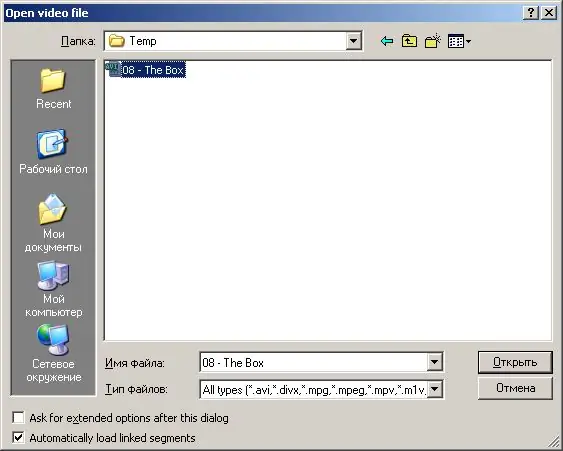
Open the video file in VirtualDub. To do this, press the key combination Ctrl + O, or select the "File" and "Open video file …" items from the menu. In the dialog that appears, specify the path to the directory, select the file and click the "Open" button.
Step 2
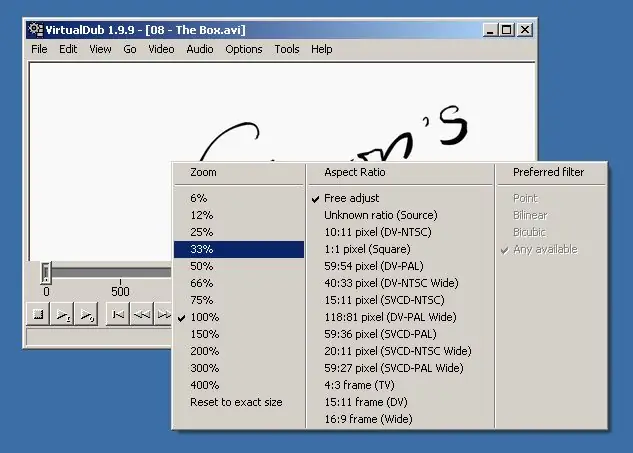
Set a convenient scale for viewing the original and processed frames. Right-click on the panel displaying the original frame. A context menu will appear. Select the item describing the appropriate scale. Do the same with the panel displaying the processed frame.
Step 3
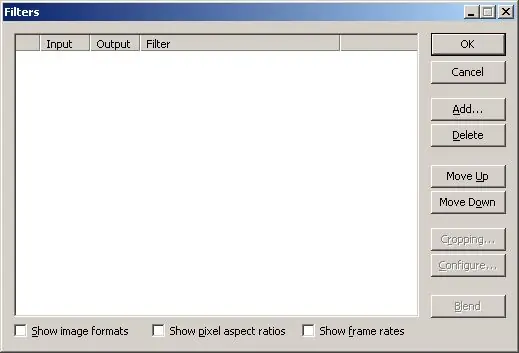
Open the filter settings dialog. In the main menu, click on the "Video" item, and then on the "Filters …" item. Alternatively, press Ctrl + F. The Filters dialog will be displayed.
Step 4
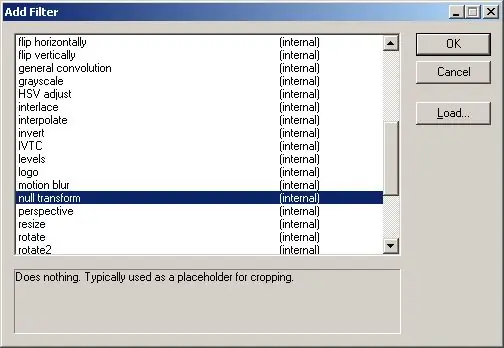
Add the "null transform" filter to the chain of filters applied during frame processing. Click on the "Add …" button. The "Add filter" dialog will appear. Find the "null transform" item in the filter list. Highlight this item by clicking on it with the mouse. Click the "OK" button. The dialog will close and the selected filter will be added to the list of the "Filters" dialog.
Step 5
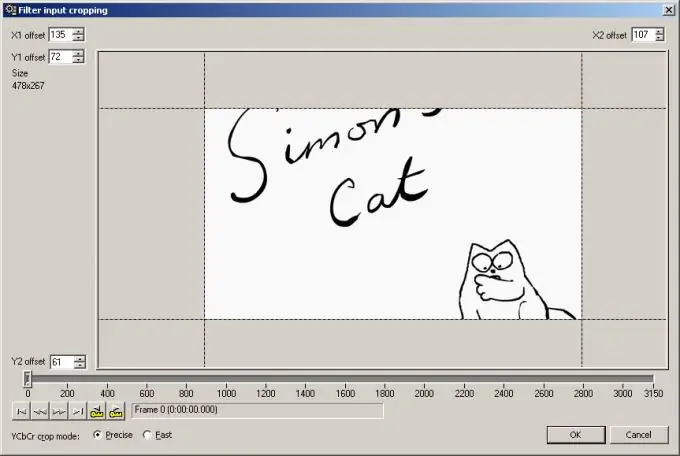
Crop the frame. In the list of the "Filters" dialog, select the item corresponding to the filter you just added. Click the "Cropping …" button. The "Filter input cropping" dialog will be displayed. Set the desired widths of the clipping regions on the left, top, right and bottom by entering values in the "X1 offset", "Y1 offset", "X2 offset" and "Y2 offset" fields, respectively. The width of the clipping regions can be changed by dragging their edges with the mouse. Click the "OK" button. The dialogue will be closed. Click the OK button in the Filters dialog.
Step 6
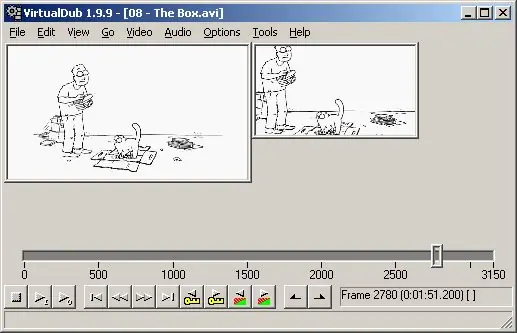
Check the effect of the crop crop settings. View video fragments in the panel displaying processed frames using the controls located at the bottom of the program window. Make sure the result is satisfactory. Return to step 5 to adjust the settings if necessary.
Step 7
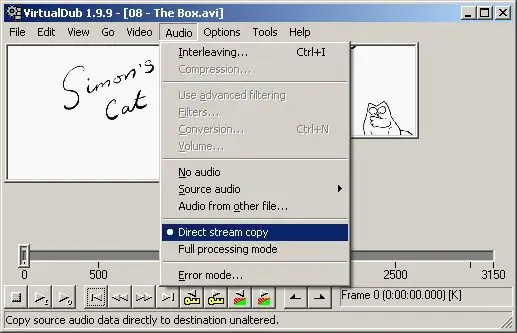
Configure the program to copy the audio stream without changing. Select the "Audio" and "Direct stream copy" menu items.
Step 8
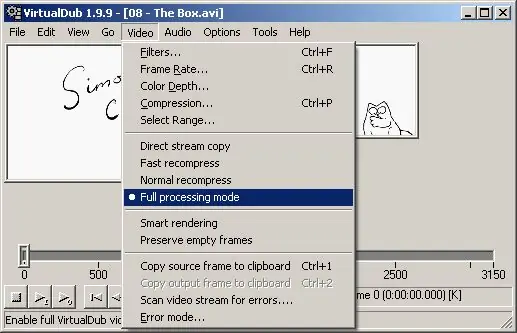
Enable full video stream processing. In the menu, select the items "Video" and "Full processing mode".
Step 9
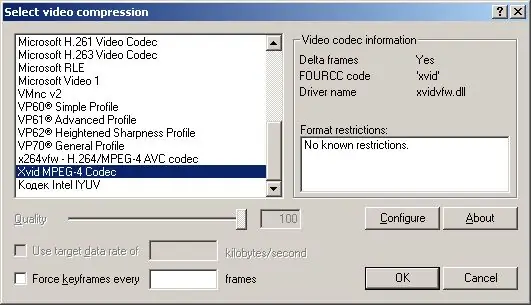
Adjust the compression parameters of the resulting video data stream. Open the "Select video compression" dialog by selecting the "Video" and "Compression …" items from the menu, or by pressing the Ctrl + P keyboard shortcut. In the list, highlight the item corresponding to your preferred encoder. Click the "Configure" button and configure the selected codec. The configuration dialogs for each codec are different. Click OK.
Step 10
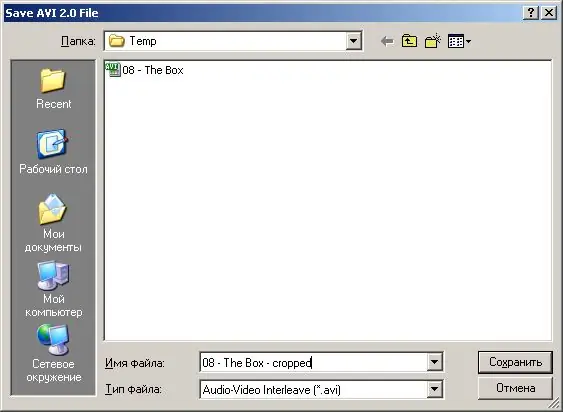
Start generating a new video file. Press the F7 key, or select "File" and "Save as AVI …" from the menu. In the displayed dialog specify the folder where the resulting file will be saved and its name. Click the "Save" button.
Step 11
Wait until the end of the processing process. Statistical information will be displayed in the "VirtualDub Status" dialog. If necessary, you can interrupt the operation by pressing the "Abort" button.


