Files with the iso extension are similar to regular archive formats in that they can also contain several objects (files and folders). But the direct purpose of this format is completely different - the data placed in it should carry not only files, but also very detailed information about the file system in which they were stored, the order of their placement and the used protection system. This type of data is not called "archive", but "disk image" and most programs designed to create files in iso format are designed to work not with individual source files, but with entire disks. But there are also exceptions.

Necessary
UltraISO application
Instructions
Step 1
Use, for example, the UltraISO program - this application does not care what exactly you want to put in the file with the iso extension. It is equally easy to perform the operation of packing both a whole disk and a single file. You can download it, for example, from the page https://ezbsystems.com/ultraiso/download.htm of the manufacturer's website - EZB Systems.
Step 2
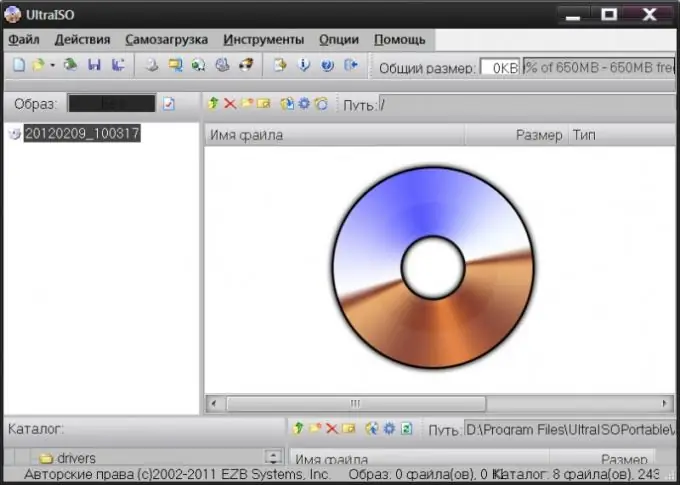
After installing the program, launch it, as well as the file manager of your operating system - for example, Explorer, if you have one of the versions of Windows installed. In the file manager window, go to the directory that contains the file to be packed into iso. UltraISO supports the operation of dragging objects from windows of other programs, so just drag the desired file from the file manager window to the window of the installed application, and its name will appear in the right UltraISO frame. If necessary, in the same way, replenish the contents of the created archive with other files or folders.
Step 3
There is also an alternative way to create a list of files of the future iso-archive - you can do without drag and drop and a file manager, using only UltraISO. After launching this application, open the "Actions" section in its menu and select the "Add files" line - a standard file search dialog will appear on the screen. It can also be called by pressing the F3 key. Find the required file in the dialog window and click the "Open" button. If there are several files to be packed, click each of them while holding down the Ctrl key.
Step 4
Having created a list of files using one of the methods described above, open the "File" section in the wrapper program menu and select the "Save as" line. The standard window will open again, in which you need to type the name of the archive file and specify the location for its storage. By default, the required extension (iso) is selected in the File type field, but if a different format is set there, find the correct value in the drop-down list of this field. After you click the "Save" button, UltraISO will create a file with the specified name containing the files you specified.


