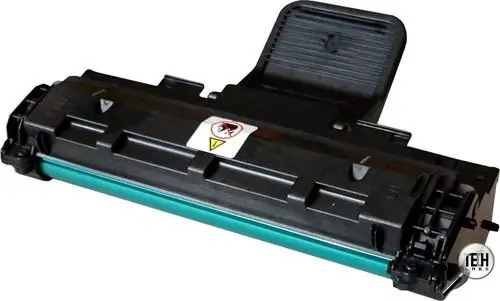
Replacing a cartridge on any inkjet printer is a simple matter, but still requires certain skills and dexterity. When doing this for the first time, please note that the cartridges contain ink that can spill at the most inopportune moment, so it is better to push all unnecessary away and wear gloves.

Instructions
Step 1
When installing a new cartridge, you must remove the protective tape from it according to the instructions, taking care not to damage the nozzles and contacts. Then turn on the printer and open the cover.
Step 2
Wait until the carriage is in the center position, open the latches on it.
Step 3
Insert the cartridge vertically into the slot (with the contacts facing away from you) at a slight inclination: black - to the right, color - to the left, until it clicks.
Step 4
Lower the latch, close the printer cover. The carriage returns to the right again. If it doesn't and the light is blinking, try reinstalling the cartridges again to match the pins or turning the printer back on and off.
Step 5
Sometimes you need to change the printer settings to allow the use of an "unknown cartridge" instead of the "original" one. Open the printer maintenance settings, follow the alignment procedure. In this case, it is better to keep the settings for the original cartridge. Print a test page. Align the cartridges after each installation.
Step 6
Remember, print quality is largely dependent on the well-coordinated work of the printer with the cartridge, so check their compliance with the purchase. If one cartridge is out of ink and cannot be replaced or refilled, leave it in place to keep the printer operating.


