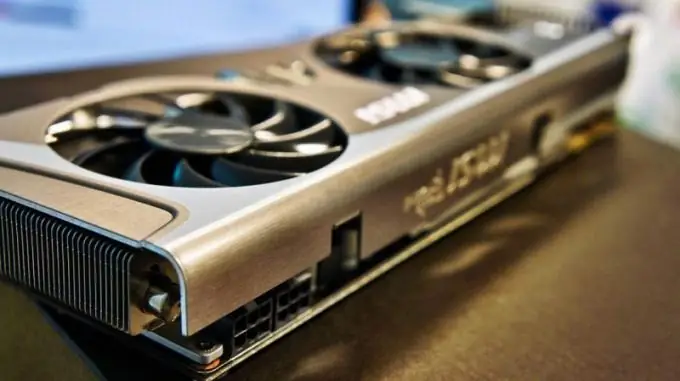
Increasing the frequency of the video card is one of the most important stages of its overclocking. It is necessary to change the performance of the video adapter very carefully so as not to damage this device.

Necessary
- - Speed Fan;
- - 3D Mark;
- - Riva Tuner.
Instructions
Step 1
First install the SpeedFan program and find out the temperature of your graphics card. If it approaches the maximum bar, then replace the thermal grease between the heatsink and the chip. If this does not give the desired results, consider replacing the cooler with a more powerful analogue. Now download and install two programs: 3D Mark and Riva Tuner. They will be needed to assess the performance of the video card and change the parameters of its operation.
Step 2
Run the 3D Mark utility and run the graphics card performance checker. Remember the received indicators. It is with them that you will compare the final results. Close 3D Mark Utility and launch Riva Tuner. Click the button located in the "Driver Settings" item and select the "System Settings" option in the menu that appears.
Step 3
Check the box next to Enable driver-level overclocking. This is necessary to gain access to the video adapter frequency settings. In the window that appears, click the "Definition" button and select the 3D option.
Step 4
Below there are two fields: "Core frequency" and "Memory frequency". Start by adjusting one of these parameters. Increase the selected frequency by 50 Megahertz. Click the "Test" button and wait for it to complete. If the program has not detected any errors, then click the "Apply" button. Open the 3D Mark Utility and check if your video adapter is working properly. If no problems were found, then perform another cycle of increasing frequency and checking. After the utility detects the problem, undo the last changes.
Step 5
Now, in the same way, adjust the frequency of the second indicator. Check the box next to "Load settings from Windows" and click the "Save" button. This is necessary to automatically apply the specified frequencies when the computer is turned on.


