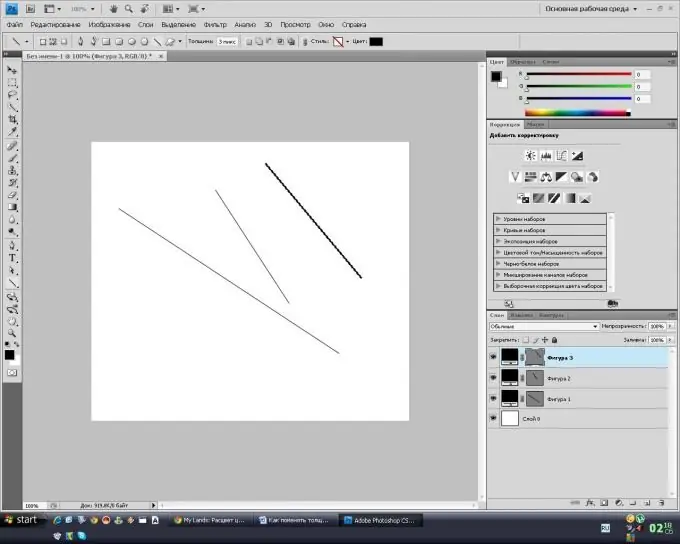
An element such as a line is used in all well-known graphic editors (Adobe Photoshop, Corel Draw, Paint, Gimp), as well as text editors. Lines can be made in various colors and shapes, their thickness and length can be changed.

Necessary
computer
Instructions
Step 1
Start Microsoft Word, install the "Drawing" toolbar, or go to the "Insert" - "Picture" menu (depending on the version of the program). Select the Line tool. Left-click in the part of the document where it will begin, then do not release it and move in the desired direction. After you have drawn the line, you need to set the line thickness. If you are working with Word 2007, then in order to change the line thickness, select the line, then the "Format" menu will appear on the toolbar, select the "Shape outline" item, then "Line width" and select the required line thickness value according to sample. In addition, you can choose your own value for the line thickness, to do this, click on the "Other lines" button and set the necessary parameters.
Step 2
Go to the Drawing toolbar if you are working in any other version of Microsoft Word. Find the button "Line width" there, click on it and select the required thickness.
Step 3
Launch PicPick, a simple graphics editor for creating and editing elementary images. Go to the toolbox and select the Straight Line tool. Left-click in the place of the drawing where the line will begin, then drag in the desired direction and draw a line. On the toolbar, select the "Outline" option, set the desired outline, and in the menu on the right, click the arrow and select the line thickness (from 1 to 15 pixels).
Step 4
Start Adobe Photoshop, create a new file, go to the tool palette and select the Line tool. On the toolbar, enter the desired line width in pixels in the Thickness box. Left-click in the place of the drawing where the line will begin, then drag in the desired direction and draw a line.


