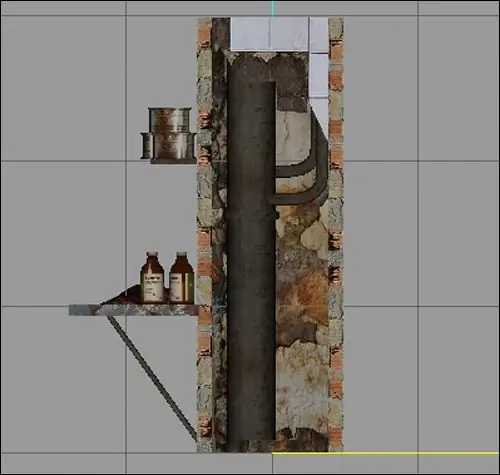
Working in the 3D editor itself is very exciting and certainly creative. MilkShape 3D is much easier to use than other 3D modeling programs, however, issues related to the imposition of textures on the model can still arise. Most of the questions arise from those who are just starting to master the program. So, your model is ready, all that remains is to apply a texture to it. Let's try to figure out how this is done.

Instructions
Step 1
If you are creating a model for your own pleasure, then the size and format of the texture will not be so important. If the model is created for further import into any game, then the requirements will be different. In games, the.dds format is most often used for textures, therefore, textures will be of a strictly specified size - 256x256, 256x512, 512x512, and so on. You can work in a graphics editor with the.dds format in the same way as with other images by installing the appropriate plugin.
Step 2
The texture must be thought out. It is necessary to immediately determine on which part of the object this or that texture will be applied. Textures for different parts of the model (for the sake of general economy) can be placed on one image.
Step 3
In the 3D editor, in the Groups section, select a group to apply the texture to. To do this, either double-click the LMB on the group name, or click on the name once and press the Select button. The selected group will be highlighted in red.
Step 4
Next, go to the Materials tab and select the New button on the side panel. A new material appears - a gray ball. Having selected the line with the name of the material (by default - Material01), you need to click on the none button (highlighted by signs) in order to open a window from where we select the texture prepared for the model. When searching for a texture, we move through the folders as usual, until we get to the one we need. The selected texture will "stretch" over the gray ball, this will mean that you have selected the material.
Step 5
After the material is selected, you should indicate what exactly it is used for the selected part of the model. This can be done by clicking on the Assign button, or by double-clicking the LMB on the name of the material. The material will overlap the object
Step 6
In order to edit the texture coordinate grid, select the Window item in the top menu, select the Texture Coordinate Editor item in the drop-down menu, or open the texture coordinates window with the Ctrl + T keyboard shortcut. Using the options available in the window that appears (select, rotate, move and so on), you can reassign texture coordinates for the entire model or only for individual parts.
Step 7
In order to apply or reassign a texture only to a specific section of a group, you need to select it (Model-Select-Face) into a separate group (Groups-Regroup) and go to the texture coordinates editing window, selecting the newly created group for work. The active group is displayed as white edges and red dots. If you selected the wrong group, you will only see your texture in its original form.


