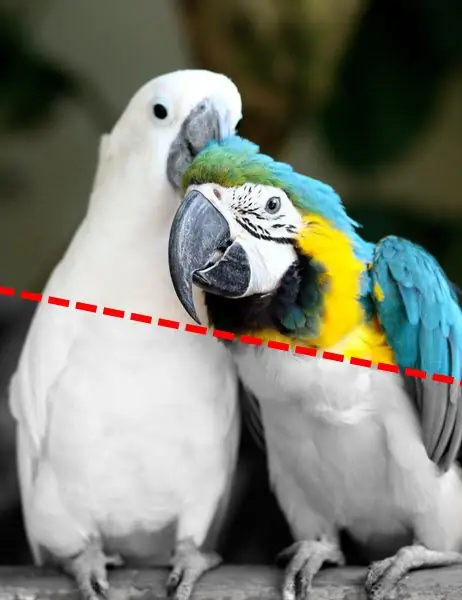
You can make a color image black and white in almost any graphics editing program. If you use Adobe Photoshop CS4, then there will be more than one or even three ways to do this. Some of the simplest options for converting a color picture to black and white using the graphics editor Adobe Photoshop CS4 are outlined below.

Necessary
Graphic editor Adobe Photoshop CS4
Instructions
Step 1
Open the image file you want to desaturate. This can be done by pressing the shortcut keys CTRL + O. In the dialog box that will open, find the desired file, select it, make sure that this is the required image from the preview picture, and click the "OK" button.
Step 2
Duplicate the image - drag the background layer onto the new layer thumbnail. An additional layer will be needed in order to compare and select one of the two options converted to black and white in different ways.
Step 3
The first of the desaturation methods is to call the appropriate automatic editor function. Open the "Image" section of the menu, go to the "Adjustments" subsection and start this function by pressing the fourth line from the bottom labeled "Desaturate". The editor will use the default settings and the picture will become colorless. This operation can be done much faster - just press the SHIFT + CTRL + U key combination.
Step 4
Now turn off the visibility of this layer and go to the background layer, which is still colored. Apply the second method to it. To do this, as in the previous one, open the "Image" section of the menu and go to the "Correction" subsection. In it, you should now select another line - "Black and White".
Step 5
As a result, another window will open and you will have the opportunity to fine-tune the conversion to black shades separately for different colors. In addition, if you check the "Tint" checkbox, you can replace the black color with any one selected using the "Color Tone" slider. When you have finished adjusting the color transformation settings, click the "OK" button.
Step 6
Now you have two layers with different results of the desaturation operation - toggle their visibility, choose the one that suits you best.
Step 7
It remains to save the selected option - press the key combination CTRL + SHIFT + alt="Image" + S. A dialog will open in which you need to choose the optimal file format and image quality settings. When done, click the "Save" button and specify the save location and file name.


