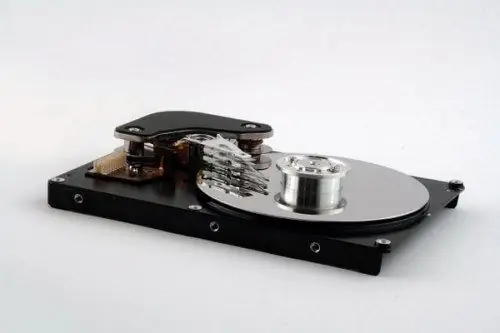
For more convenient storage of information on almost all computers, the hard disk is divided into several logical partitions. But there are times when the capacity of one of these partitions needs to be changed. For example, you created a logical drive specifically for storing movies. But over time, there is not enough memory on it, while on the other there is still quite a lot of it. Accordingly, it is possible to increase the capacity of one logical disk at the expense of another.

Necessary
- - Computer;
- - Norton PartitionMagic program.
Instructions
Step 1
To work, you need Norton PartitionMagic. Download it from the Internet and install it on your computer. Run the program. After launching it, you will see a window with a list of hard disk partitions.
Step 2
Before adding space to a single logical partition, you need to free that space. You can do it like this. Select the partition from which you will take some of the disk space. After that, in the program menu, select the option "Size / Move Partition".
Step 3
A window will appear in which you must enter the new size of the partition. Accordingly, in the "New size" field and enter this figure. For example, the partition size is 200 GB, but you assign 120 GB to it. Accordingly, you can add 80 GB to another partition. But keep in mind that you can only operate with free space. If the disk size is 200 GB, but only 10 GB is free, then you can set only 190 GB as the new disk size, then 10 GB will be free. After the new size is selected, click OK.
Step 4
Now you are interested in the section of the program menu called "Task selection", namely the "Allocate free space" option. Run this option. In the first window, read the introductory information and click "Next". A list of sections will appear in the next window.
Step 5
Click on the partition to which the disk space will be added with the left mouse button. Then go on. In the next window, click Finish. The process of redistributing free space will begin. Its duration depends on the parameters you choose. The more disk space you transfer, the longer the process will take.
Step 6
Upon completion of the process, you will receive a corresponding notification. The computer should restart automatically. After rebooting, you will see that the disk space of the logical drive you selected has increased.


