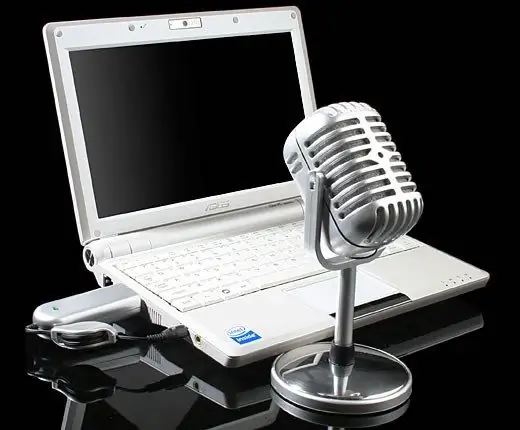
Setting up the microphone is done in stages, this applies to its first connection. After the initial setup, the parameters will be saved, and you will only need to configure the equipment in new programs the next time.

Necessary
microphone
Instructions
Step 1
Find the microphone connector on the sound card of your computer, usually it is marked with a corresponding icon and is located next to the headphone connector. Typically, the sound card input is located on the back of the system unit, on the side or front panel, or, in some cases, on the keyboard or speaker system if they are used as an adapter. In laptops and netbooks, these connectors are usually located on the sides of the case or on the front panel.
Step 2
After you connect the microphone to your computer, adjust its volume in the sound card menu in the control panel. It is best to check the “Remove echo” checkbox, otherwise the other person may not hear you.
Step 3
From the Sounds and Audio Devices menu in Control Panel, select Hardware Settings and specify a volume level. Also, select the microphone you connected as the default device in cases where there is more than one or it has not been previously defined in the system. This is done in the drop-down menu for audio input devices.
Step 4
Set up the microphone in the program that will use it. Specify the desired volume level after checking it using a special utility. If necessary, make an additional check by making a call to the dedicated online chat software service. For example, in the list of Skype contacts there is a special item that allows you to call a special service. Then, depending on the results, you can set up the equipment properly. If the equipment malfunctions, be sure to replace it and do not try to use a damaged microphone in your computer, as this may damage the sound card.


