Microsoft regularly improves its technology by publishing new operating systems. One of the newer versions, Windows 7, is very easy to use. But due to the emergence of new extensions, its interface is different from the previous options. In particular, there are problems with configuring the router.

Instructions
Step 1
Check which version your router is. This information can be found on the box from the device, or on a sticker located on the back of the modem. After that, download the latest version of the software for the router from the manufacturer's official website and unpack the file to a directory convenient for you. So you save yourself from unnecessary difficulties during installation and arrange stable operation of the device.
Step 2
Click on the "Start" button and go to "Control Panel". From the list that will open in a new window, select "Network and Sharing Center". In the menu on the left, find the "Manage network connections" section and click on it. If you did everything correctly, the Windows 7 operating system will display a window where the available network connections will be displayed in the form of monitor icons.
Step 3
Make sure the connection type used on your computer is DHCP (dynamic). To do this, go to the properties of the established network connection. To do this, right-click on it and select "Properties" in the context menu at the very bottom. In the "General" tab, click once on the "Internet Protocol TCP / IP" item and click again the active "Properties" button. In the window that opens, the item "Obtain IP automatically" should be marked. If not, contact your provider.
Step 4
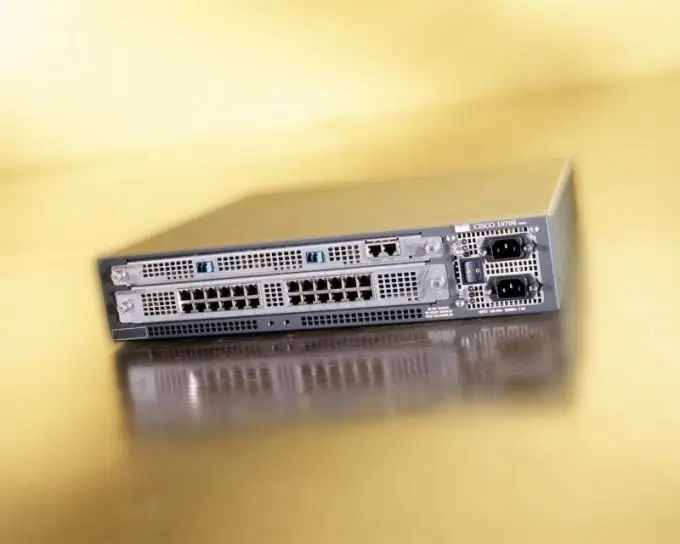
Check that the router is properly connected to the computer. One cable included in the kit should connect the computer and the router itself via the LAN port, the other, "provider" one, should be connected to the WAN connector. Connect the power adapter to a 220V outlet.
Step 5
Open a browser and enter the router's IP address in the address bar. To find this address, go back to the folder where the available network connections are displayed. Open the context menu on the same established connection and select "Status". In the window that opens, click on the "Details" button. The numbers written opposite the words "Main gateway" are the desired address.
Step 6
By clicking on the IP of the router, you will be taken to the device control panel. First, the system will ask you to enter your username and password. You can view this information all on the same sticker on the bottom of the router. Enter the data and click "OK". Click on the Tools link to the Firmware subsection. And clicking the "Browse" button, specify the downloaded updates, then click "Install". During installation, do not turn off the router, and when finished, press the reset button on the device itself and hold it for 15 minutes. The router is now ready to run on Windows 7.


