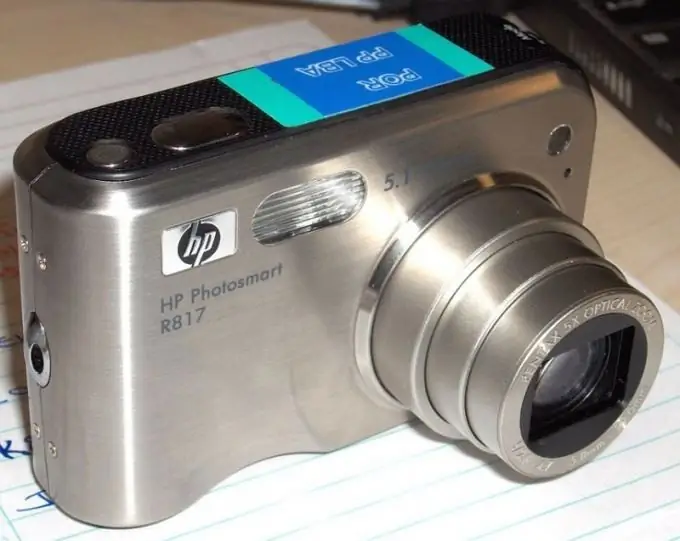
The Hewlett Packard Company markets digital cameras, scanners, and inkjet printers under the Photosmart name. All these devices are not able to interact with a computer without drivers, which may be present in the system or require installation.

Instructions
Step 1
HP Photosmart digital cameras use the same data transfer protocol as flash drives. They are recognized as removable drives in Linux operating systems with kernel 2.6 and higher, as well as Windows operating systems starting with XP. Users who prefer to use heavily outdated operating systems are in a worse position. So, in Linux with the 2.4 kernel, the performance of such cameras is not guaranteed, and the 2.2 kernel does not support them at all. If you are still using Windows 98 (for example, on a very old laptop), install the driver from the disk that comes with any old USB flash drive (modern media of this type are not supplied with disks). Find the photos you have taken in several folders located in the camera in the / dcim / 100hpnnn / directory, where nnn is the camera model number.
Step 2
To install the driver for the HP Photosmart printer or scanner in Windows, follow the link at the end of this article. Enter the full product name (eg Photosmart C410a) in the Enter a product name / number field and click the Search button. Then select your device from the downloaded list and links to download executable files will appear. Download and run each of them sequentially, and then follow the instructions of the programs.
Step 3
On Linux, printer and scanner drivers are part of the kernel. The device can either work without downloading any additional files, or require an update of the kernel (or the entire distribution). In the second case, back up your data before performing any of these operations. To configure the printer, enter the kcmshell printers command, and after loading the setup program, select Add - Printer / Class from the menu. Select the port to which the device is connected, its manufacturer (in this case, HP), and then the model. Adjust the resolution, change the default paper size from Letter to A4, and try printing a test page. If successful, save the settings.
Step 4
To use the scanner, run Kooka on Linux and HP Scanning on Windows (it will be installed automatically along with the driver during step 2). In the HP Scanning software, first select a location to save the file and enter a file name. Then, in any of these programs, click the Preview button. When the fast scan occurs, move the boundaries of the area to be scanned slowly at high resolution and click the Scan button. HP Scanning will then save the file to the folder you previously selected, while in Kooka you will have to right-click the thumbnail, select Save, then select the folder and enter the desired file name.


