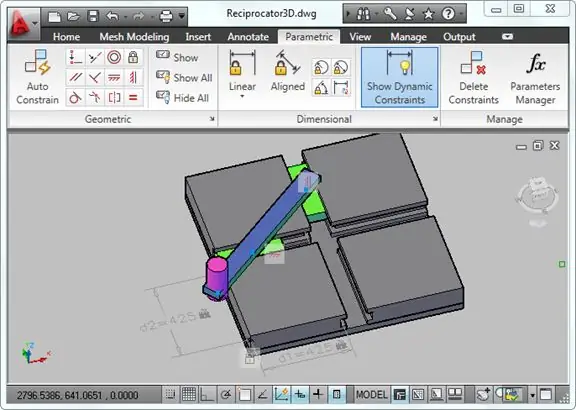
The use of CAD tools in product design helps the engineer to produce all necessary documentation accurately and quickly. With the help of the computer-aided design system AutoCAD, you can create drawings designed according to the rules of GOST with all the necessary dimensions and conventions.

Instructions
Step 1
Open AutoCAD CAD on your computer and load the drawing file. To do this, open the "File" tab of the main program menu and select the "Open …" item. Then select the drawing file in which you need to put down the dimensions.
Step 2
If you need to create a drawing first, in the "File" tab of the main AutoCAD menu, select "New …" and make a drawing. To save the drawing file in the format you need, select "Save As …". Give the file a name. So that later you can quickly find the file you need, write in the file name the name of the projected object, as well as the number of the document (that is, the drawing itself). Set the file type. If you plan to open and work with the drawing in older versions of AutoCAD in the future, select the appropriate file type. By default, the program will save the file as a current version of AutoCAD drawing with a.dwg extension.
Step 3
Select the Dimensions tab from the main AutoCAD menu. Select a linear dimension from the drop-down list of different sizes. It is used most often when drawing the dimensions of objects, while the dimension lines are located parallel to the coordinate axes (horizontally and vertically). Remember that when applying dimensions, you should be guided by GOST 2.307-68 of the unified system for design documentation.
Step 4
Click the left mouse button at the point from which you want to start dimensioning. Make a second mouse click at the end point. The extension lines, dimension line, and dimension value appear on the screen. Pull out the dimension to a free area of the drawing and click the left mouse button.
Step 5
To change the parameters of the dimension line, arrows, or dimension values, move the cursor over the dimension and double-click the left mouse button. The dimension properties submenu will be displayed.
Step 6
In the General tab, check the color and type of the dimension line. In the "Lines and Arrows" tab, select the type of arrow you need and set its value. Also check the thickness of the extension lines. Using the "Text" tab set the height of the dimension text, the location of the label, the text style. Do not forget to indicate the maximum deviations in the "Tolerances" tab.
Step 7
Use the Copy Properties command to ensure that all dimensions in the drawing are styled in the same style. Select this command, then left-click on the size that has already been designed in accordance with GOST. After that, move the cursor to another dimension and click on it. Parameters such as text style, linetype, arrowheads, etc. become the same for both sizes.


