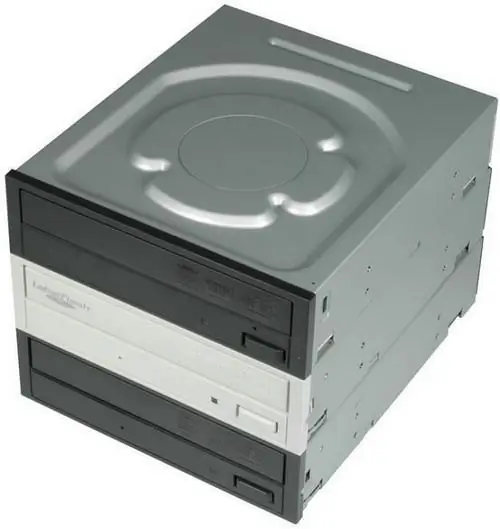
An optical drive in a computer is a very necessary part. With its help, information is recorded on the hard disk of the computer. Also, information from a computer can be recorded on blank disks. But from time to time, the optical drive needs to be replaced. It can simply break, stop spinning discs normally, or simply leave scratches on them.

Necessary
Computer, optical drive, screwdriver
Instructions
Step 1
Replacing an optical drive, of course, is not a very troublesome task, but you still have to allocate a little time for this. Today, there are two connection interfaces for internal optical drives - an IDE interface and a SATA interface. Connecting via SATA interface is more convenient and faster. Check your computer documentation to see if your motherboard has a SATA interface. If there is no documentation, open the cover of the system unit and look for the SATA inscription on the motherboard. Next to this inscription there will be a connector - this is the SATA interface (there are several of them, SATA 1, SATA2 or more). If the motherboard does not have SATA, you will have to choose a drive with an IDE interface.
Step 2
Then you need to purchase a drive with the interface you want. If you have a SATA connector, it is highly recommended to get a SATA drive.
Step 3
SATA drive connection. Open the cover of the system unit. Remove the old drive from the bay. Install a new one in its place. Now just connect the SATA optical drive with a SATA cable. There are several SATA interfaces on the motherboard, and it doesn't matter which one you connect the drive to. It will be recognized on all interfaces and will work the same way. You can turn on the computer and the drive will be recognized by the system.
Step 4
Connection via IDE interface. There must be two IDEs on the motherboard (Primary Master and Secondary Master). A pair of devices can be connected to one interface, but the use of special jumpers is required. You don't need this. To avoid confusion, just connect the drive to the Secondary Master, as the hard drive must be connected to the Primary. Use a special loop to connect. It should be included with the motherboard. If an IDE ribbon cable is not available, it can be purchased separately at any computer hardware store. The connection procedure is exactly the same as in the case of the SATA interface, only the IDE port is used.


