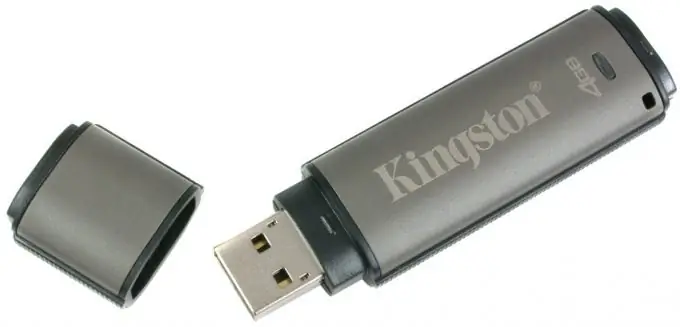
Creating a bootable flash drive is necessary if you need to install an operating system from a USB drive. This is true for netbook owners, as their computers usually don't have a floppy drive. It is also convenient, given that disks can be easily damaged physically, and data on a flash drive will remain intact for a long time.

Necessary
- - USB-drive with a volume of at least 2 GB;
- - a computer with USB ports;
- - software for creating bootable removable media, such as USB Multiboot.
Instructions
Step 1
Download and install USB Multiboot software.
Step 2
Perform a full formatting of the flash drive. To do this, open the installed program, in the appeared Disk Storage Format Tool dialog box, select the media and formatting file system, click "Start". Confirm deletion of all files from the flash drive.
Step 3
Open the USB Multiboot_10.cmd utility. In the command line that appears, opposite “Enter your choice” put the letter N and press enter. Next, in the same line, enter the number 1 and also press enter.
Step 4
Select the file to be burned. The program provides for both the selection of files to burn from the disk, and the search for images in iso or ngr format. But do not forget to run the program for working with virtual disks before doing this, because you cannot select an image directly. After selection, you will see a dialog box titled “Unnatended Install …”, click “Cancel” in the options.
Step 5
Next, in the command line, write down the number 2 and press enter. In the window that appears, select the medium that will be the USB installation disk. Enter the number 3 in the command line and press enter, thereby starting the recording process. After that, a little time will pass, and a dialog box will appear, click "Yes" in it.
Step 6
Wait a while for the files to be written to the USB flash drive. Usually, the duration of the process depends on the system resources of your computer, but in most cases it does not take more than 20 minutes. During the recording process, three dialog boxes will appear in which you will need to click on the "Yes" button.
Step 7
After all the files are written to the media, go to it through "my computer" or Explorer. Select all the files on the media, right-click, select "Properties". Check the box next to the "Read only" attribute, apply the changes to all existing and attached files and folders. The bootable USB drive is ready.


