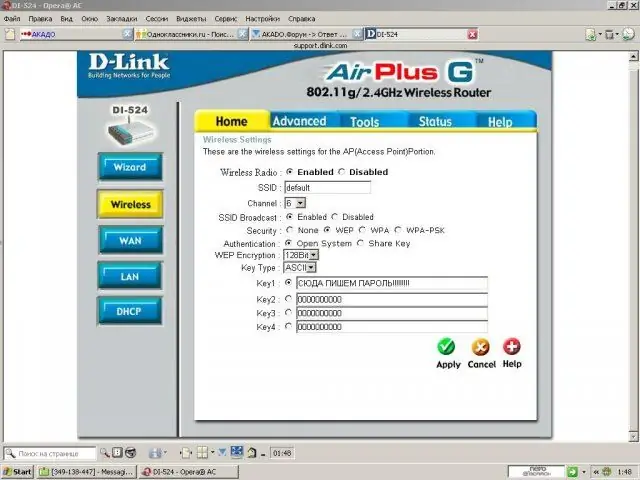
When setting up a WiFi connection in your home network, you must set a password for the connection so that outsiders cannot connect, and, accordingly, use the Internet without your permission at your expense.

It is necessary
User manual for the router, CD with distribution kit
Instructions
Step 1
We connect the router to the home network. By default, it is set to the factory settings. We connect the power supply cord and plug the router into an electrical outlet. We carry out a preliminary installation according to the user manual. We follow all the steps and procedures described in sequence.
Step 2
Install the CD with the distribution kit into the computer drive. Run the setup program. Open Internet Explorer and enter 192.168.1.1 in the address bar to access the router over the established network.
Step 3
We enter the same words in the login and password columns - admin. These are the factory settings for accessing the router menu. Depending on the connection method - Wireless or LAN, select the corresponding tab in the menu.
Step 4
On the Home tab on the right side of the router menu, select the type of encryption. It is best to check WPA or WPA-PSK as these are the most up-to-date methods. Then enter the password in the Key or Password column depending on the router model and activate OK or Apply.
Step 5
To configure the access point, you will need to select the "DHCP" sub-item. All devices connected to the router will be displayed at the bottom of the field. IP addresses are listed next to each. If the device does not work (does not have access), then using the "Control Panel" you can enter its settings and activate it in manual mode.


