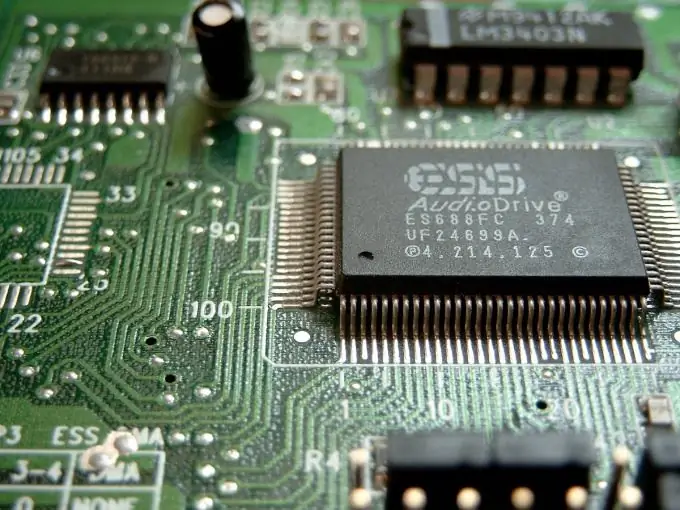
After purchasing a computer that was decommissioned from an office due to obsolescence, you may find that it does not produce sounds. No wonder: in work offices, sound is often not needed, and loud music can interfere with the work process. It is possible that the built-in sound card is simply disabled in the computer. To get his voice back, you need to enable sound in the BIOS.

Instructions
Step 1
We enter the BIOS by pressing the “Del” key at the very beginning of the computer boot during the RAM test. After identifying the hard drives, the computer will enter BIOS. BIOS is an interface to the basic settings of a computer motherboard. Most often, it looks like a standard DOS window. It is controlled by keyboard arrows and keys “Enter” (when selecting a parameter) and “Esc” (when exiting an open menu or canceling changes made).
Step 2
In order to turn on the sound in the BIOS, we need to find the menu responsible for turning on and off the devices built into the motherboard. Depending on the manufacturer and BIOS model, this menu may be located in different places and have different names. Therefore, you will have to walk through all the menu tabs for some time, looking for the desired parameter. Most often, these settings are located on the “Advanced” tab. One of the names they hide under is “Integrated Peripherals”. If your BIOS does not have such a name, look for another wording that is similar in meaning.
Step 3
If the menu was found correctly, going into it, we will see a list of all devices installed on the motherboard and the status of their connection. Among USB, Floppy Disk, Serial Port and other names, we are looking for Onboard Audio Controller or another similar wording. We go into its properties with the Enter key and change the parameter “Disabled” (disabled) to “Enabled” (enabled) or “Auto”.
Step 4
Go to the BIOS “Exit” tab and select the “Exit & Save Changes” menu item. When asked by the system "Save to CMOS and EXIT (Y / N)?" press the key with the letter “Y” and confirm the saving of the settings and exit by pressing the “Enter” key. The sound is on.


