The art of working with Photoshop today is akin to the skill of developing film in the past. A couple of manipulations in the program and a photo that is not the most successful at first glance may suddenly become more expressive, play with colors, and be filled with new meaning.

Instructions
Step 1
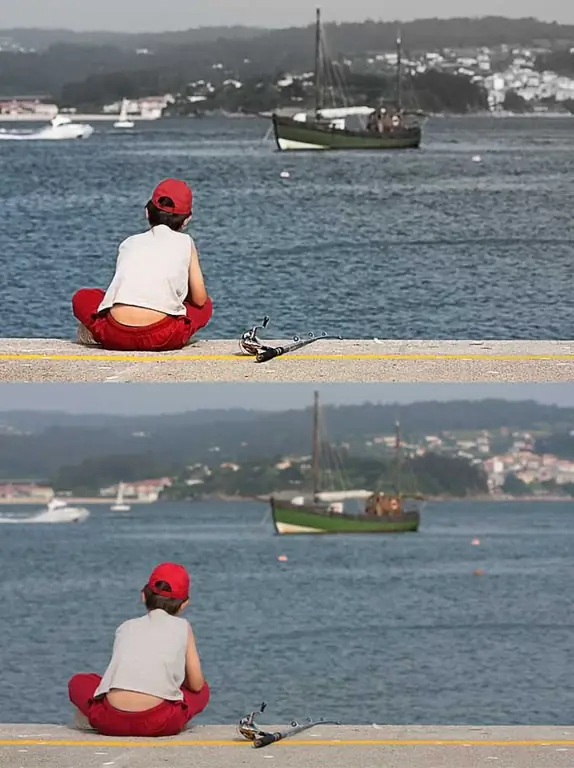
To illustrate how you can improve a photo in Photoshop, let's take the most ordinary photo, which each of us has in abundance. In general, the photo is not bad, but it still lacks something. There is a certain composition in it, but in the frame there are simultaneously two objects, claiming to be the dominant, the gaze does not linger on any of them for a long time, the composition falls apart, the meaning disappears from it. Let's try to fix the situation.

Step 2
First, let's increase the contrast of the photo, make it more saturated. Copy the photo to a new layer via the menu item Layer - Duplicate Layer. Set the top layer to Overlay Blending Mode and reduce its Opacity to 50%. The photo played with colors, became brighter and more expressive. Bring the two layers together by right-clicking on the top layer by selecting Megre Down.

Step 3
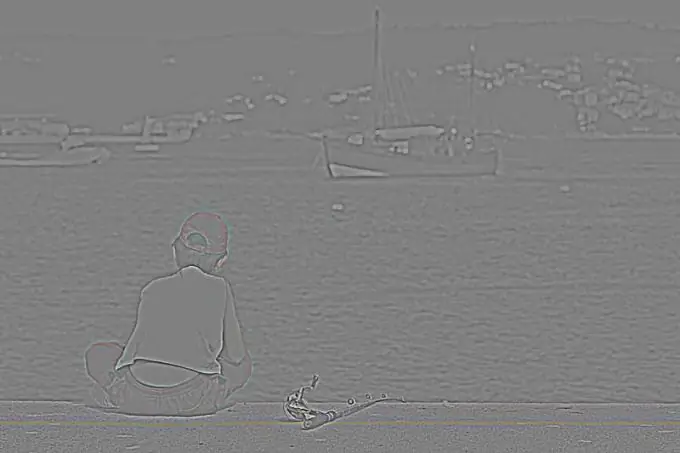
There is some grain in the background. Let's get rid of it with a filter. Filter - Noise - Reduce Noise. When adding a filter, a preview of the photo will be available, so the parameters can be varied based on the preview. Having achieved the desired effect, click on OK. Now let's sharpen the photo. Duplicate the image layer again. Apply Filter - Other - High Pass to the top layer. The picture should look something like this

Step 4
Change the blending method of the layers to Overlay. Bring the layers together again in the above way. You should get something like this.

Step 5
Now let's try to highlight the semantic center of the photo. The main thing in the picture is still a boy, let's try to indicate this more clearly. The background melts into a haze, let's enhance this effect by muffling the tones. Make a new copy of the layer. Apply the Image - Adjustmens - Black and White action to it. The photo is black and white. Moving the sliders with the color designation, select the option that suits you the most. And you can apply any filter from the drop-down menu. When you have achieved the desired effect, click OK. Apply a layer mask to the top layer. Apply a black and white gradient to it so that the boy becomes colored and the background remains black and white. If the transition seems too harsh to you, lower the saturation of the top layer.

Step 6
Consider the resulting image. A clearly expressed semantic center appeared in it. The gaze immediately falls on the boy and strives further to the right and up to the ship, conveying the boy's mood, and it seems that his philosophical reflections are reaching us. In general, the processing has significantly improved the photo. Although this type of processing is suitable for a particular photo, the above algorithm will improve any photo. You just need to understand what exactly you want from the processed photo.


