If you want to make an original postcard or collage as a gift to your friends for a holiday or celebration, but do not know how to cut out some image from one picture in order to place it on another, Adobe Photoshop will come to your rescue, which has an exhaustive set of functions for photomontage and neat combination of photos. In this article, we will tell you about the easiest way to cut a picture in Photoshop, available to every novice user of the program.

Instructions
Step 1
Open the picture from which you want to cut the object in the program. On the toolbar in the left part of the program window, select the Magnetic lasso tool and, holding the left mouse button, circle the desired object with a rough and approximate contour, which will later be detailed.
Step 2
Double click on the finished selection to form a selection marked with a dotted line. Click on the selected area with the right mouse button and click Layer via cut.
Step 3
The selected object, thus, will be transferred to a new layer, and only its background will remain on the previous layer, which you no longer need - on the layer with the background, make a general selection (Select) and press Delete.
Step 4
After that, delete the layer itself by right-clicking on it and clicking "Delete Layer", or by dragging the layer onto the trash can icon in the Layers panel.
Step 5
Since the initial selection of the picture was sloppy and general, take up the detailing of the outline and more accurate cleaning of the picture from residual background fragments.
Step 6
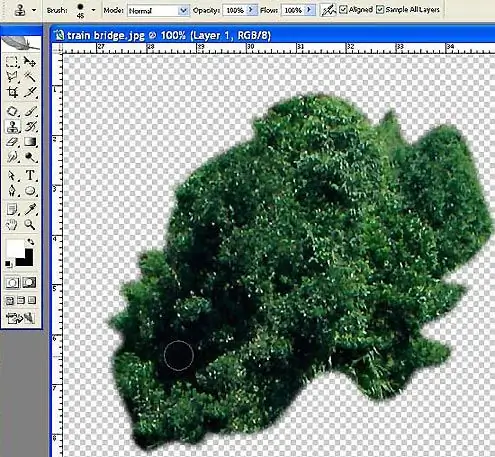
Grab the Eraser background tool and set the size and hardness or softness in the eraser settings. The softer the eraser is, the neater the selection will be.
Step 7
In the process of clearing the picture from background fragments, it is best to change the size of the eraser from larger to smaller in order to better process small elements of the picture. Scale the drawing and carefully remove the excess background around it, keeping the outline and not touching the drawing itself.
Step 8
Use a soft, thin eraser to draw along the outline of the object to smooth out the sharp edges slightly. After that, the picture can be inserted on any other background, create collages and postcards.


