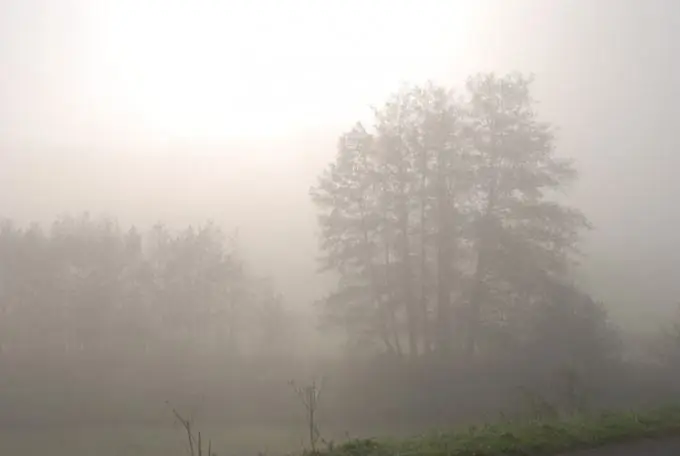
Foggy panoramas are often used to create a mysterious atmosphere in videos. If you don't have the opportunity to shoot such a scene live, you can go for a trick and apply fog to a panorama shot in normal, not too sunny weather. Because the work will require creating masks, changing the blend mode and opacity of layers, experimenting with fog is best in After Effects. However, Sony Vegas also allows you to edit video using masks.

Necessary
- - Photoshop program;
- - After Effects program;
- - video.
Instructions
Step 1
A video without noticeable shadows and sun glare is best for creating a fog effect. Upload the file to After Effects or open an existing project.
Step 2
To simulate fog, you need a noise layer. You can create this by overlaying one of After Effects' own filters, or by making a prefab for fog in Photoshop. To create a file in this graphics editor, use the Adobe Photoshop File option from the New group of the Layer menu. Immediately specify the name of the file to be created and the location where it will be stored. After you confirm the parameters of the saved document, a Photoshop window will open with the file you just created.
Step 3
Using the Image Size Image option, immediately increase the size of the image to three hundred percent and fill the layer of the open document with black by activating the Paint Bucket Tool.
Step 4
Apply the Clouds filter from the Render group of the Filter menu to the filled layer. Save the workpiece using the Save command of the File menu and you can close the graphical editor. The file with the results of applying the filter is already in the Timeline palette in the After Effects window.
Step 5
Change the Blend Mode of the Fog Preset layer from Normal to Screen by choosing Screen from the drop-down list to the right of the layer name.
Step 6
Clicking on the button in the form of a triangle to the left of the layer with the future fog, expand the list of its parameters. Expand the Transform item in the same way. In the Scale item, cancel preserving the aspect ratio of the image. To do this, click on the icon next to the layer height and width parameters.
Step 7
Stretch the width of the fog layer to four hundred percent by changing the value of the first parameter in the Scale item. As a result, the fog will have a slightly fibrous structure. Adjust the layer height for a more realistic effect. To prevent the fog from being too streaky, duplicate the layer with the Dublicate option from the Edit menu and move the new layer relative to the original by changing the parameters in the Position item.
Step 8
To slightly reduce the number of layers in the composition, select both fog layers and use the Precompose option from the Layer menu. To continue working, return to the original composition by clicking on the tab with its name in the Timeline palette.
Step 9
Make the fog layer more transparent by lowering the Opacity parameter. The result should be a slight haze for the entire frame.
Step 10
Separate objects on different planes with fog. To do this, duplicate the fog layer and reduce the opacity of the copy. Use the Pen Tool to draw a mask so that it covers the part of the video that is covered by the fog more than the objects in the foreground.
Step 11
Expand the mask options and adjust the Mask Feather and Mask Expansion. The first parameter determines the number of semi-transparent pixels at the edges of the mask, the second is responsible for spreading the visible part of the layer outside the mask. Duplicate the mask layer if necessary to get a thicker haze.
Step 12
Animate the position of the first fog layer. To do this, place the current frame pointer at the beginning of the clip and click on the clock-shaped icon near the Position item of this layer. Move the pointer of the current frame forward a few seconds and change the value of the first parameter in this point of pixels by ten to twenty. The more the position of the layer changes, the faster the fog will move, and it is desirable to get a barely noticeable movement in the frame.
Step 13
Preview the result using the RAM Preview option from the Composition menu. If the fog turns out to be moving too fast, move the keyframe icon to the right.
Step 14
To save the video, send the composition to the Render Queue palette using the Add to Render Queue option from the Composition menu. If necessary, save the project with all layers and filters using the Save option of the File menu.


