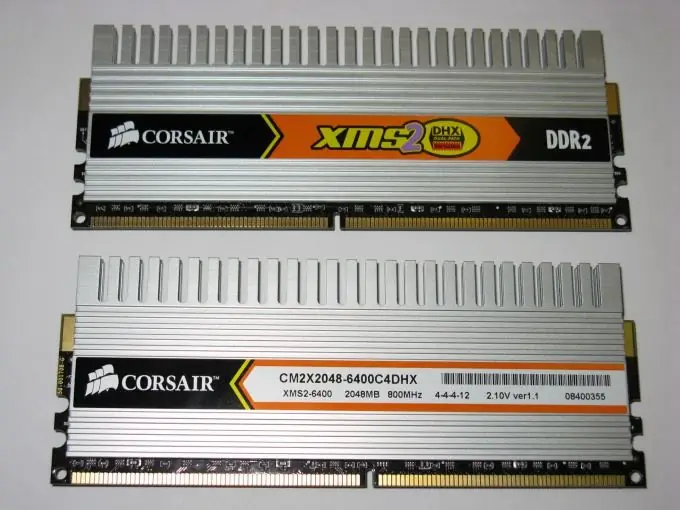
To increase the performance of a computer, it is customary to replace some of its devices, including RAM. To successfully complete this process, it is recommended to remember a few rules.

Necessary
Speccy
Instructions
Step 1
First, determine the type of memory cards that are right for your motherboard. It is not recommended to do this using programs, because there are motherboard models that support various types of RAM.
Step 2
Read the instructions for the motherboard. If it is not available, check the required specifications on the Internet. For a more detailed study of the RAM parameters, install a special program that displays the characteristics of the equipment.
Step 3
Consider the Speccy utility as an example, although other programs such as Everest can be used. Launch Speccy and go to the "RAM" menu. In this menu, find the number of free slots for installing new memory sticks.
Step 4
Pay attention to the bandwidth of the memory cards. This parameter is measured in megahertz. Decide whether you will add memory strips or replace the existing ones.
Step 5
In the first case, purchase memory cards whose frequency matches or exceeds the frequency of the installed devices. This will ensure their maximum joint performance.
Step 6
If you decide to completely replace the memory strips, then purchase two (four) identical boards. This advice should be used if your motherboard supports dual-channel RAM.
Step 7
Remove the cover from the system unit. Install new memory sticks or replace existing ones. Turn on your computer. In the event that an error appears when loading the operating system (a blue screen may appear), remove all slots except one and reboot.
Step 8
Add one stick of RAM to stabilize their collaboration. After starting the operating system, turn on the Speccy program and make sure that all boards are working properly.


