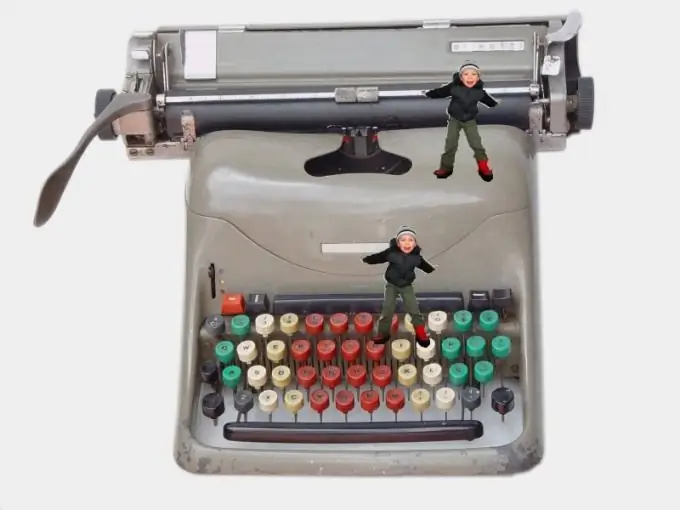
Removing the background from a portrait or photograph of an object is performed if it clutters the picture or if you need to transfer the object to another background. This operation can be performed using a raster graphics editor, for example, GIMP.

Instructions
Step 1
Be sure to make a backup copy of the original image (or save it under a different name and only then proceed with the modification).
Step 2
To remove the background in the first way, select the Scissors tool. Draw them around the contour of the object around which you want to remove the background. Having closed the contour, correct the positions of its points, and, if necessary, add new, intermediate ones, the positions of which also correct. After that, click the middle of the object, and the path will become solid, and the points will disappear.
Step 3
Copy the selected object by pressing Ctrl + C. Create a new image sized to fit this object. In doing so, select the desired background color. Paste the contents of the clipboard there by pressing Ctrl + V. Select the Rectangular Selection tool and click any point outside the outline. Then save the result under a name that doesn't exist yet. Similarly, you can paste the contents of the clipboard into an existing picture with a background. After that, do not forget to move the object with the arrow keys to the desired location before deselecting.
Step 4
You can do without creating a new image. To do this, in the "Edit" menu, select "Invert Selection". The object will no longer be selected, but the background will become that. To remove it, press Ctrl + K in the old version of GIMP and Ctrl + X in the newer version. After that, select the desired background color and perform the "Image" - "Flatten Image" operation.
Step 5
To remove the background the second way, use the Eraser tool instead of the Scissors tool. Select the background color you want, and then set the eraser diameter so that it is easy for them to erase the background around the object. Having cleared the space around it, delete the remaining areas of the background using the Rectangular Selection tool and the Ctrl + K keyboard shortcut (or Ctrl + X). Then flatten the image as above.
Step 6
To now move the object to a different background, select the Magic Wand tool and click on any point of the background around the object. Then carry out the operation "Selection" - "Invert selection". Press Ctrl + C. Opening a file with a different background, paste the object into it by pressing Ctrl + V, turn on the Rectangular Selection tool, adjust the position of the object using the arrow keys, and then click on any point of the background. Save the result under a different name.


