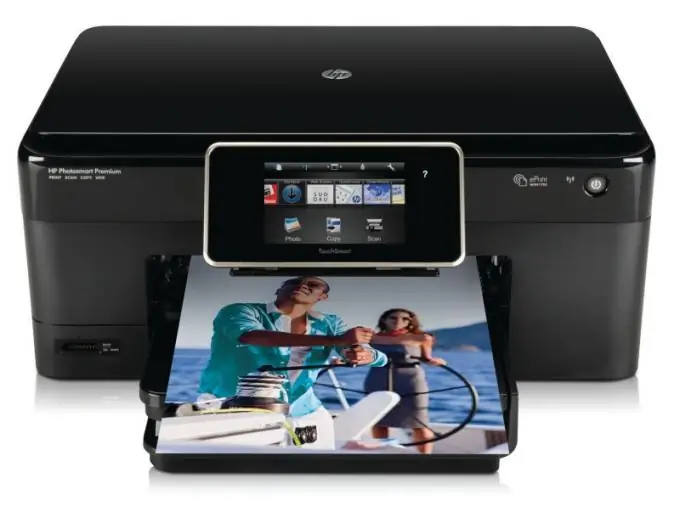
Printers from HP are among the most popular devices for printing, not only because of their quality and functionality, but also support for various operating systems and the ability to install related software. Product customization is performed by installing the appropriate driver.

Instructions
Step 1
Start the computer with Windows 7 installed and connect the printer to it using the cable that needs to be inserted into the USB connector. Then start the device and wait for it to be detected in the system.
Step 2
Insert the printer disc into the drive and wait for the driver installation process to start. If necessary, select your operating system version (Windows 7) and follow the instructions on the screen to install the driver.
Step 3
If you cannot install the driver disc for your computer, or you have lost the media, you can download the correct drivers from the HP website. Go to it using a browser and go to the technical support section, which is available through the "Support" item in the top menu of the site. In the drop-down list, select "Download Drivers". In the "View by Product Category" row, select "Printers". Select the model of your device from the list provided. Select Windows 7 from the list of operating systems to download and download the required installer.
Step 4
Run the resulting file and follow the instructions of the installer. After completing the procedure, restart your computer and reconnect the printer to your computer. Wait until the definition of new hardware in the system finishes and a notification appears about the successful installation of the driver. The HP setup process for Windows 7 is now complete.
Step 5
You can configure the printer through the corresponding item in the system menu. To do this, click on the "Start" - "Devices and Printers" menu. Select the printer from the list of equipment connected to the computer and right-click on it. Go to the "Properties" section. Adjust the properties of printing and working with documents offered in different tabs, and then save the changes made using the "OK" button.


